
Last updated November 17, 2026
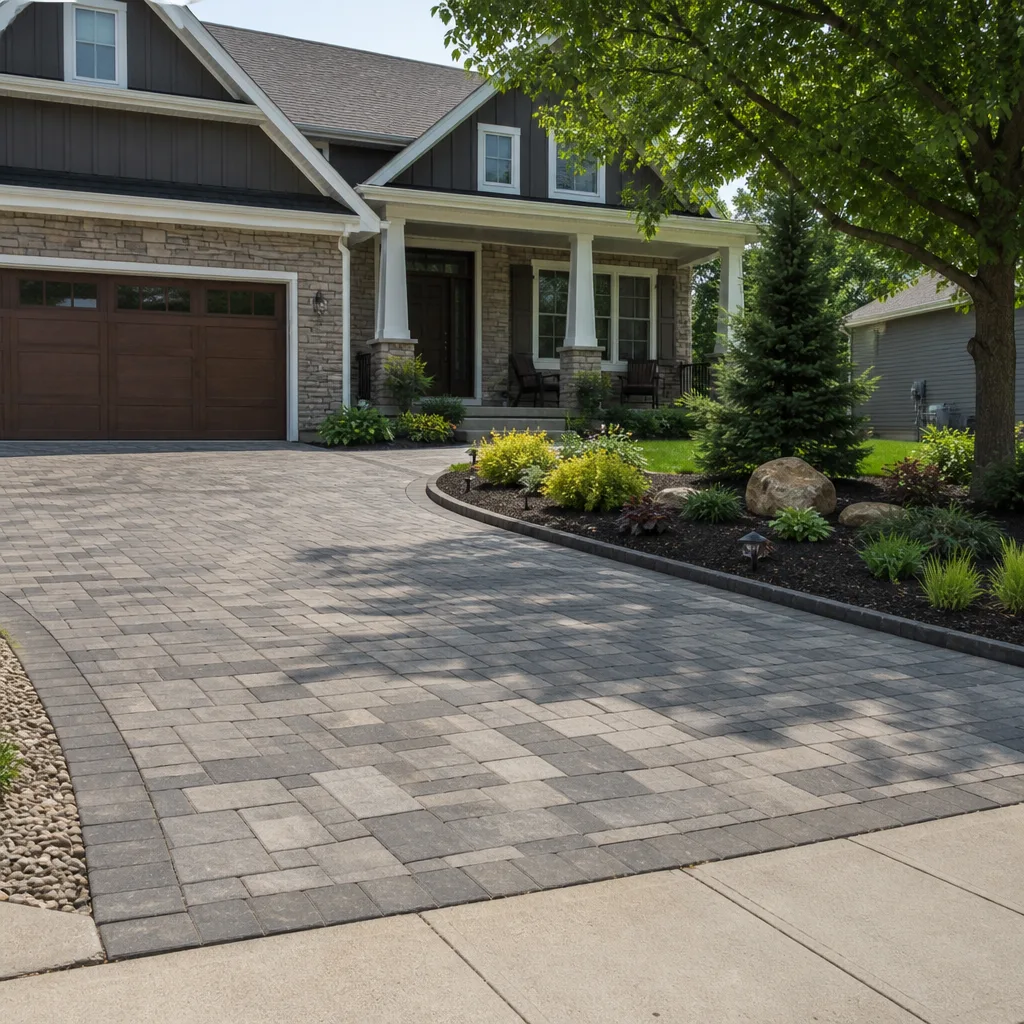 Driveway & pavers
 Kitchen remodeling
 Bathroom remodeling
 Home additions & ADU
 Roofing
 Windows & doors
 Fence
Free written scope consultation - allowances, timeline, and change-order rules on paper before a single trade is scheduled
DIY vs Professional Driveway & Pavers: What’s Safe to Do Yourself
Search “how to lay pavers” and you’ll get thousands of videos, most of them shot on sandy Florida soil or compacted Midwestern gravel. Almost none of them show you how to grade and compact a 6-inch crushed stone base in Dallas’s shrink-swell clay, which is the part that actually decides whether your driveway holds for 25 years or starts heaving and rutting inside three. The paver layer is the pretty part, and it’s the easy part. The base is the work, and it’s where most DIY installs quietly fail. This guide draws an honest line: what a capable homeowner can genuinely handle, what requires plate compactors, laser levels, and drainage math, and how to tell the difference before you rent anything.
Quick Answer
You can safely DIY small paver projects, repairs, joint resealing, and decorative border additions – work where the base is already sound. You should not DIY a full driveway or patio install in Dallas, because 70 percent of that job is excavation, subgrade prep, and compaction on expansive clay that requires professional equipment, laser leveling, and drainage design. The fail-and-replace math rarely favors DIY: a repair inside five years usually exceeds what installation would have cost upfront.
Styles & brands we work with
- Kitchen remodeling
- Bathroom remodeling
- Home additions & ADU
- Roofing
- Windows & doors
- Driveway & pavers
- Fence
Table of Contents
- What DIYers Underestimate: The Base Is the Job
- Why Dallas Clay Changes Everything
- How to Test Your Site’s Drainage Slope Before You Commit
- What’s Genuinely Safe to Do Yourself
- The Real Cost Math: Failed DIY vs Pro Install
- The Equipment You Can’t Fake
- How to Evaluate a Contractor and Your Own Site
- What to Tell a Contractor About Your DIY Attempt
What DIYers Underestimate: The Base Is the Job
Pavers themselves are not complicated. They interlock, they’re heavy, and anyone with a decent eye can set a straight line. What deceptively few homeowners realize is that the pavers are the last 6 to 8 inches of a system that runs a foot or more deep. Underneath, in order, you’re building excavation, a compacted subgrade, a geotextile separation layer, then a compacted crushed stone base, then a bedding layer, then sand in the joints. Everything you don’t see is where the craftsmanship lives.
Here’s what the base layer actually demands:
- Excavation to depth. A driveway needs the finished paver surface to sit flush or slightly proud of grade so water drains off. That means digging out the paver thickness, the bedding sand, and the full compacted base – typically 10 to 12 inches total. By hand, on a two-car Dallas driveway, this is measured in days, not hours, and it’s brutal in summer heat.
- Subgrade preparation. The soil under the base must itself be proof-rolled and compacted. Skipping this is the single most common failure we see – the base stone compacts fine on day one, then the soil beneath settles unevenly over two or three wet seasons.
- Layered compaction. Crushed stone is never compacted in one pass. It’s placed in 2 to 3-inch lifts, each watered to near-optimum moisture and run over with a plate or vibratory roller multiple times before the next lift goes down. This is the step tutorials skim past, and it’s the step that separates a base that’s 95 percent dense from one that’s 80 percent dense and will rut.
- Verification. Pros check base density and grade with a laser level across the whole field before a single paver is laid. Slope is set at roughly 1 to 2 percent away from the structure so water moves off the surface without eroding the joint sand.
None of that is impossible to learn. It’s just that the tolerance for error is low, and the errors don’t show up for two years. That’s the trap: DIY failures are deferred, so the install looks great the week it’s done and starts telegraphing its problems long after you’ve spent the money and thrown out the receipts.
Why Dallas Clay Changes Everything
Dallas sits on some of the most active expansive clay soil in the country, and it does things to a driveway that sandy-soil tutorials simply don’t account for. This clay swells when it takes on water and shrinks hard when it dries out, and it cycles through both extremes most years. A paver base that’s bordered by clay that moves will move with it unless it’s engineered to resist the shift.
What that means in practice, driving around neighborhoods like Lakewood, Preston Hollow, or out in the newer subdivisions near Frisco and McKinney:
- Edge restraint is not optional. In clay, pavers without a properly pinned and mortared edge restraint will creep and spread outward within a few seasons. The edge takes the lateral load so the field stays tight. DIY installs that skip or underbuild this are the ones that end up with widening gaps.
- Drainage has to anticipate soil movement. Water that ponds against the house or pools at the low corner doesn’t just stain pavers – it feeds the clay under one end of the driveway and starves the other. Over time you get differential heave and a surface that looks like a washboard.
- Frost isn’t the enemy here; moisture is. Dallas doesn’t have the deep freeze-thaw cycle northern installs fight. Our battle is seasonal moisture swing and the soil volume change it drives. That’s a different base spec than a Minnesota driveway, and a lot of generic advice ignores it.
We’ve watched Dallas driveways fail along the exact same pattern for years: the pavers themselves are fine, the base was thin, the edge was weak, and the clay moved underneath until the surface broke apart. It’s not the pavers’ fault. It’s the soil and the prep.
How to Test Your Site’s Drainage Slope Before You Commit
Before you rent a single tool, find out what your site’s drainage actually does. You don’t need a laser level for the first pass – a garden hose, a level, and an hour of observation will tell you whether your project area fights you. Here’s a practical sequence anyone can run:
- Map the runoff path. After a normal Dallas rain, walk the area and photograph where water pools and where it runs. Ponds that sit more than a few hours are a drainage problem, not a leveling problem.
- Check the fall against the house. Lay a 4-foot level on the ground running away from the foundation. If the bubble tells you the ground is flat or, worse, sloping back toward the house, the project needs regrading before anything else – and that’s professional territory.
- Run the hose test. Set a hose to a gentle flow at the high point of your planned driveway or patio and watch where the water goes. It should sheet away steadily. If it stops, spreads, or heads toward the garage, you’ve found your slope requirement the hard way.
- Feel the soil at depth. Dig a small test hole to the depth where your base would sit. In Dallas, if you hit sticky, dark, cracking clay within a few inches, your base plan has to account for it. The thicker the active clay layer, the deeper the base spec needs to be.
- Note existing trees. Mature trees pull enormous water out of clay, and their roots both lift pavers and dry the soil under sections unevenly. A site with big live oaks or pecans close to the driveway needs a root barrier and a drainage plan.
If the hose water heads toward your foundation, or the site has no natural fall, stop and get a professional read. Those two conditions turn a weekend project into an engineered drainage job, and no amount of YouTube will design around them for you.
What’s Genuinely Safe to Do Yourself
We’re not here to tell you everything requires a pro. Plenty of paver work is well within reach for a careful homeowner, and doing it yourself is a legitimate way to add value. Here’s the honest shortlist of what’s safe:
- Repairing individual pavers. Lifting a few sunken or cracked units, resetting them on fresh bedding sand, and re-sanding the joints is squarely DIY. Even a handful of pavers in a Dallas driveway that’s heaved at the sidewalk apron is a reasonable repair.
- Joint resealing and re-sanding. Polymeric sand breaks down and washes out over time – it’s the maintenance that keeps pavers locked. Sweeping new sand into the joints during dry weather is a simple annual or biennial task.
- Small patio extensions. A modest 8-by-10-foot paver patio extension over a sound, well-draining site, laid on a proper compacted base, is achievable if you’re patient and rent the compactor. Stay small and stay on flat-ish ground.
- Decorative borders and accent rows. Adding a contrasting border row or a charcoal accent band to an existing driveway is cosmetic surface work on a base that’s already proven itself.
What stays off the DIY list: full driveway installs, anything over roughly 200 square feet, any site with drainage toward the house, any substantial regrading, and any job where you’d be tearing out a failing base. For fresh builds on damaged or unknown subgrade, see our Driveway & Pavers in Dallas page for how a full install is scoped from excavation through the final roll – and if your project sits alongside a fence line or you’re weighing matching hardscape against a property line fence, our Fence Installation in Dallas team can plan both together so the grades and edges line up.
The Real Cost Math: Failed DIY vs Pro Install
Here’s the math that rarely makes it into the tutorials. A DIY paver install that fails inside five years doesn’t just cost you the money you saved – it costs you the original materials, the demolition to remove the failed base, the disposal fees, and the full professional install you end up buying anyway. The savings only hold if the install lasts. On Dallas clay, thin-base DIY installs frequently don’t.
A rough way to think about it, and these are typical ranges, not quotes:
- DIY driveway, materials plus rentals. Pavers, base stone, sand, edge restraint, compactor rental, and delivery typically run in the low-to-mid teens of dollars per square foot before you count a single hour of your own labor.
- Pro driveway install. Full-scope professional install in Dallas commonly lands noticeably higher per square foot, and that premium buys the excavation, engineered base depth, compaction to spec, and a written warranty.
- The remediation scenario. If the DIY job fails in year four, you’re looking at demolition, haul-away, and a full reinstall – often the original DIY spend plus the full professional price, with none of the warranty on the first round.
The point isn’t that DIY is always a bad deal. It’s that DIY is a good deal when and only when it lasts. On a sound base, a small DIY patio is a genuine savings. On a full driveway over Dallas clay, the odds tilt against you, and the downside is expensive. That’s the whole calculus. When you’re ready for a written line-item number on a full install, pricing is the right place to start – our team gives free estimates, and the project is backed by the 730-Day Done Right Promise, so if the workmanship ever falls short we make it right.
The Equipment You Can’t Fake
A lot of the DIY-versus-pro decision comes down to equipment. The tools exist and they’re rentable, but several of them do work you can’t replicate with a hand tamper and a string line, and using them wrong does more harm than not using them. The core list:
- A plate compactor or, better, a vibratory roller. For a driveway-sized base, a plate compactor will get you partway and a roller is what reaches proper density across the field. A hand tamper won’t get close.
- A laser level. You’re managing slope across the entire surface to a tolerance a bubble level can’t hold on a large area. This is how you set and verify 1 to 2 percent fall over 400 square feet.
- A wet saw or paver splitter. Off-angle cuts at edges, corners, and around obstacles need a clean cut with chip-free faces. A masonry blade on an angle grinder will burn edges and look amateur up close.
- Plate compactor with a rubber pad for finishing. After the pavers go down, a pass with a pad-protected compactor seats them into the bedding sand and locks the joints before the sand is swept in.
- Hauling and delivery. A skid of pavers and yards of base stone aren’t car-load materials. You’ll rent a truck or pay delivery, and base stone arrives by the cubic yard.
The compactor is the tool that decides the job. Rent the wrong one, run it dry on overly wet stone, or under-compact the subgrade, and the driveway you’re proud of in June becomes the washboard you can’t explain in two years. If you’re committed to a small DIY project, rent the right machine and watch a real instructional video on compaction, not the pretty-laying-pavers one.
How to Evaluate a Contractor and Your Own Site
If you decide the project is beyond DIY – or you’re on the fence and want a professional read – the next move is evaluating who you’d hire, and doing it properly saves you from the other failure mode: a cheap bid that skips the base. Here’s the checklist we’d want a homeowner to run on anyone, including us:
- Ask what base depth they’re building and why. A contractor who can’t explain the base spec relative to Dallas clay and your site’s condition is guessing. The right answer references excavation depth, compaction in lifts, and drainage.
- Require a written line-item quote. Itemized pricing for excavation, base, materials, edge restraint, and finishing shows you exactly what you’re buying. “Lump sum, trust me” is a red flag.
- Confirm the workmanship warranty in writing. Ask how long it covers and what triggers a claim. Coverage that runs two years is standard; coverage that runs 730 days with a “we make it right” clause is what you’re actually shopping for.
- Check that they pull permits where the scope requires it. Driveway work that changes grade or impervious surface near a right-of-way or drainage easement in Dallas can trigger city review. A pro will tell you when permits apply.
- Ask how they handle your site’s specific drainage. The answer should reference your actual runoff path and slope, not a generic “we’ll slope it away.”
- Look at their material partners. Established installers work with recognizable hardscape brands – Belgard is a common one – because those pavers carry the specification data to build to. A brand you’ve never heard of with no spec sheet is a material risk.
If you’re also planning a larger landscape or structural project – a detached garage, an ADU, or an addition that would pour a new apron and driveway together – that’s when the drive matters as part of a bigger build. Our Home Additions & ADU in Dallas team coordinates grading and hardscape with the structure so it’s done once, correctly. And for any project that touches plumbing, fixtures, or finish details, the brand partners we rely on – names like Kohler and Delta in kitchens and baths – are chosen for the same reason as our hardscape partners: quality you can specify, not just availability. If your drive and entry sequencing is part of a bigger plan, it starts with our Groundwork Construction Co. of Dallas home page and a single scoping conversation.
What to Tell a Contractor About Your DIY Attempt
This is the conversation most homeowners botch, and it costs them. If you’ve already started – dug part of the drive, laid a base, set some pavers, or pulled up a failing section – tell the professional exactly what you did, with specifics. A contractor walking onto a partly finished job needs to know what’s under the surface to quote it accurately and, more importantly, to not inherit a hidden liability.
What to disclose plainly:
- The depth you excavated and how deep the base stone you placed runs, lift by lift if you can recall it.
- Whether and how you compacted – tool, number of passes, wet or dry stone.
- How much you regraded or changed the original slope of the site.
- What you found when you dug: how deep the clay ran, any ponding or wet spots, any tree roots.
- Any existing hardscape you demoed or covered up, so nothing is hidden under the new work.
A straight contractor will appreciate the honesty because it saves everyone a surprise in week two. A contractor who gets cagey about hearing it is telling you something too. The base is the one place a DIY attempt leaves the most risk, and it’s the one place the pro needs full disclosure. We’d rather know exactly what’s there and build from it than discover a half-laid base after the first rain.
Common Mistakes to Avoid
- Skipping or thinning the base. The most common and costliest mistake. A base placed well under spec looks fine for a season and then telegraphs every load and every wet cycle. In Dallas clay, a thin base is a guarantee, not a risk.
- Compacting in one pass. Stone that’s dumped and run over once isn’t compacted, it’s just moved. Real compaction happens in thin lifts, with moisture, over multiple passes – the step tutorials routinely skip.
- Ignoring drainage toward the house. Water that flows to the foundation instead of away turns a driveway into a foundation-watering system. Always confirm fall away from the structure before you start.
- No edge restraint, or a weak one. In active clay, pavers without pinned, mortared edge restraint creep and spread. The edge is what keeps the field tight for the life of the install.
- Using the wrong joint sand. Standard sand washes out; polymeric sand locks the pavers and resists washout. Skipping polymerics is a maintenance nightmare you’ll be redoing every year.
- Laying directly over soil or a compromised base. Setting pavers over clay or over old, broken base without removing it dooms the install. The old layer has to come out – there’s no shortcut around it.
- Trusting a tutorial filmed on different soil. Sandy or gravelly soil videos don’t apply to Dallas’s expansive clay. The base spec, moisture handling, and edge restraint all change when the soil moves.
- Trying a large driveway first. If you want to learn, start with a small patio. A full driveway is not the project to learn base compaction on – the cost of a mistake scales with square footage.
See the difference
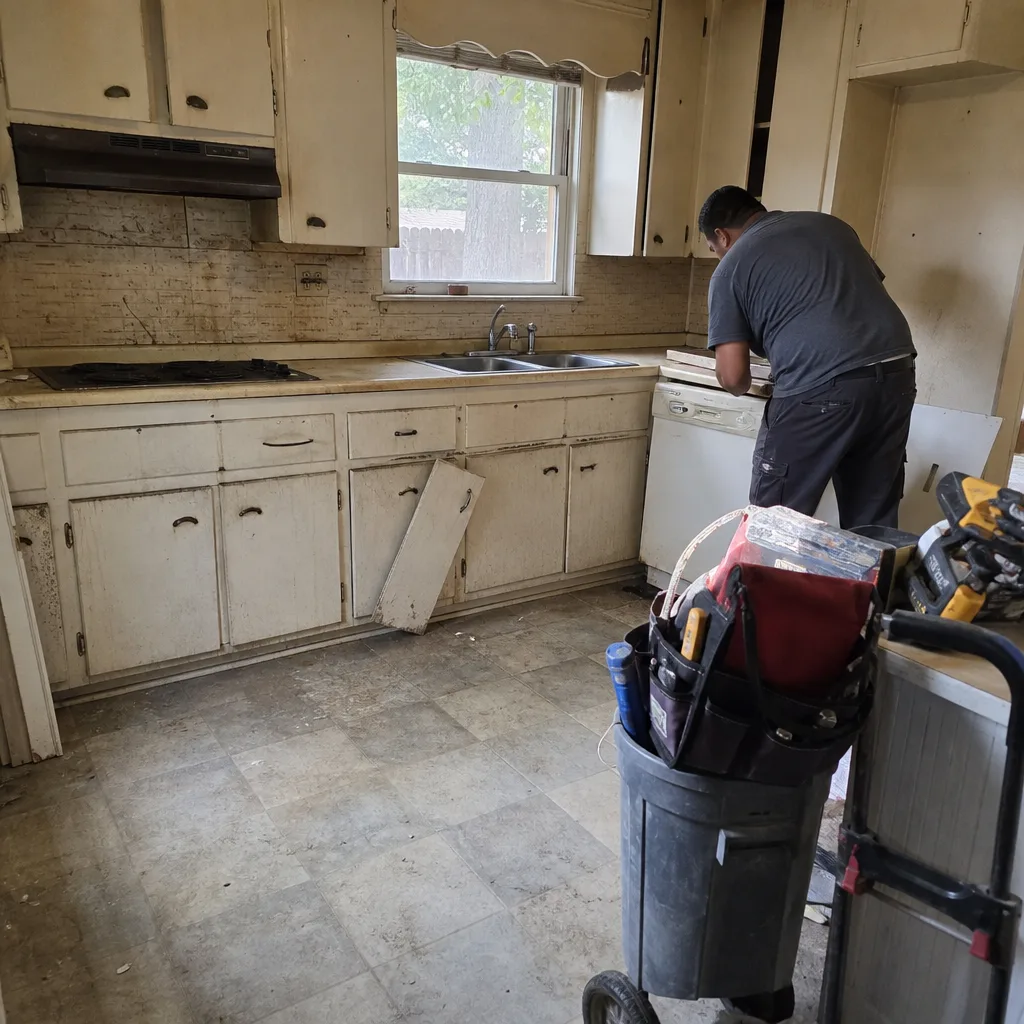 Before
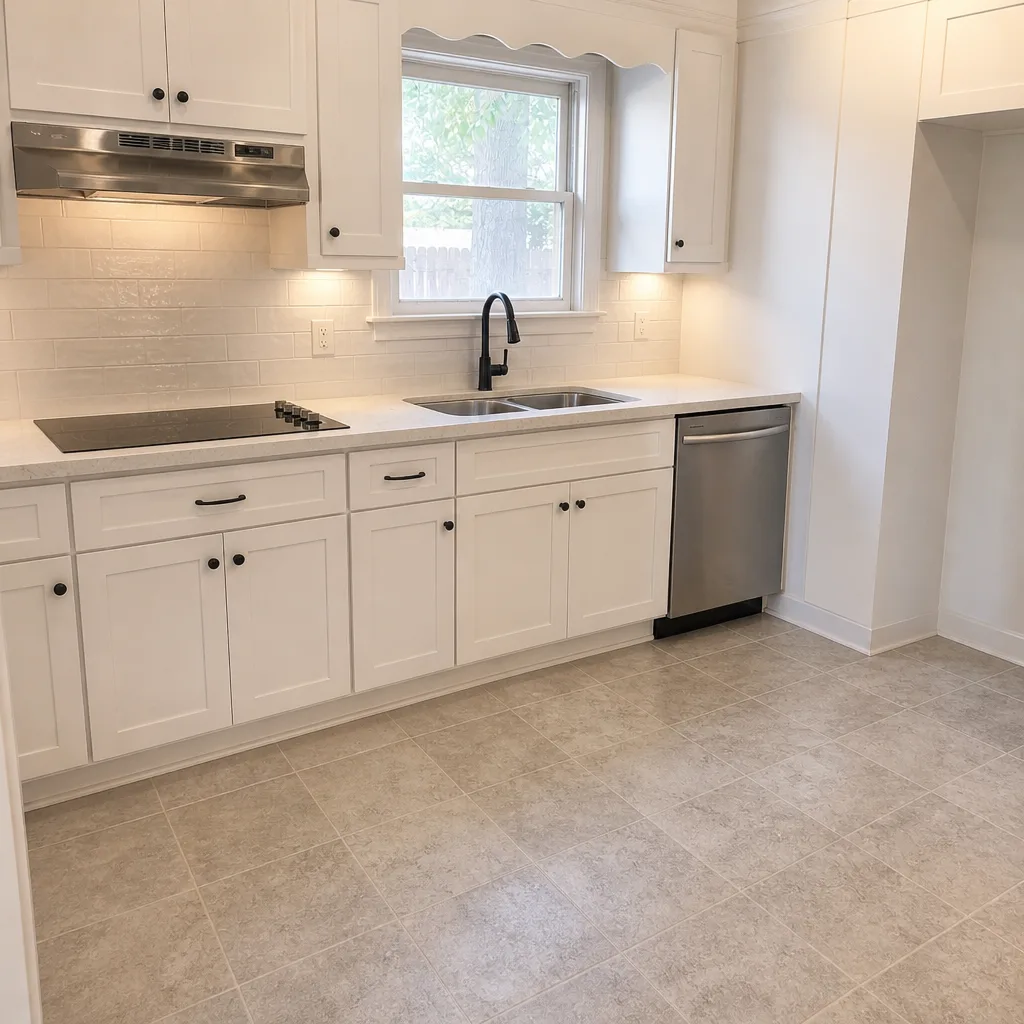 After
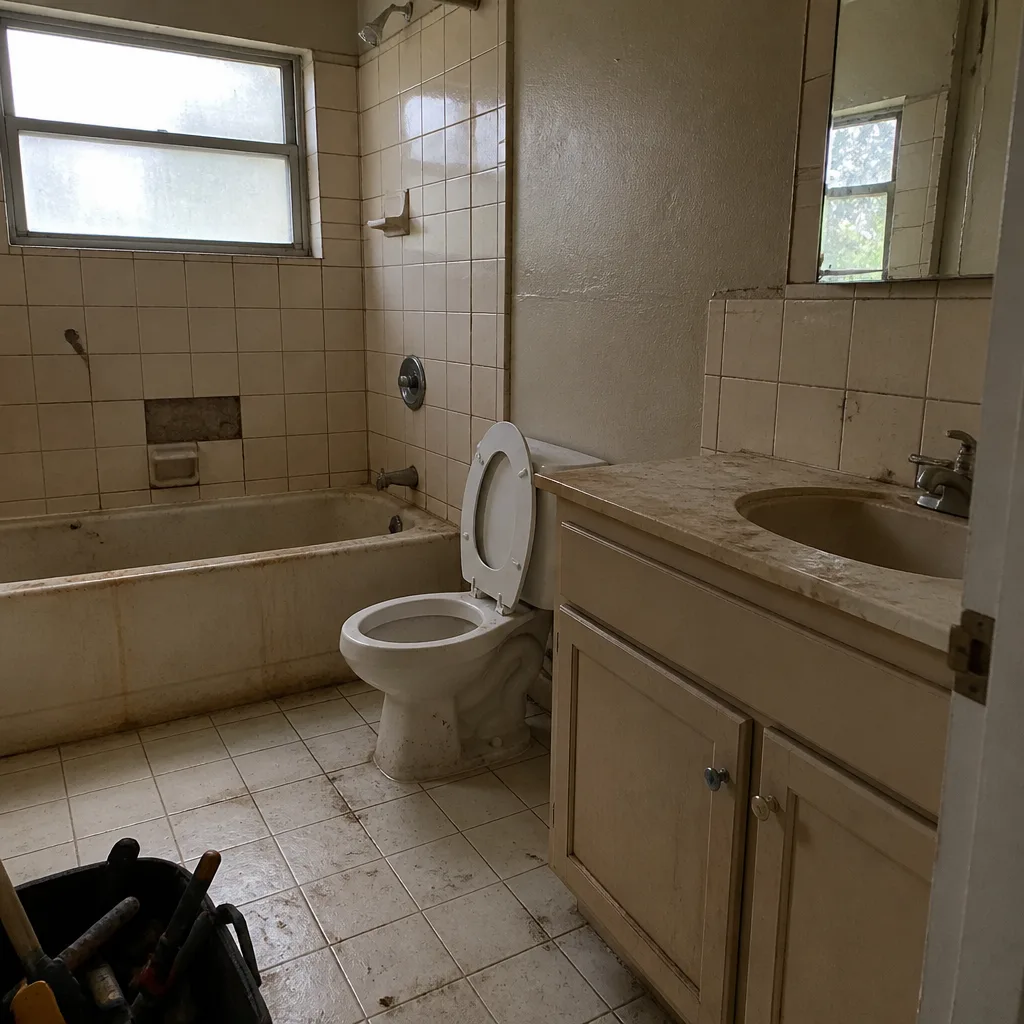 Before
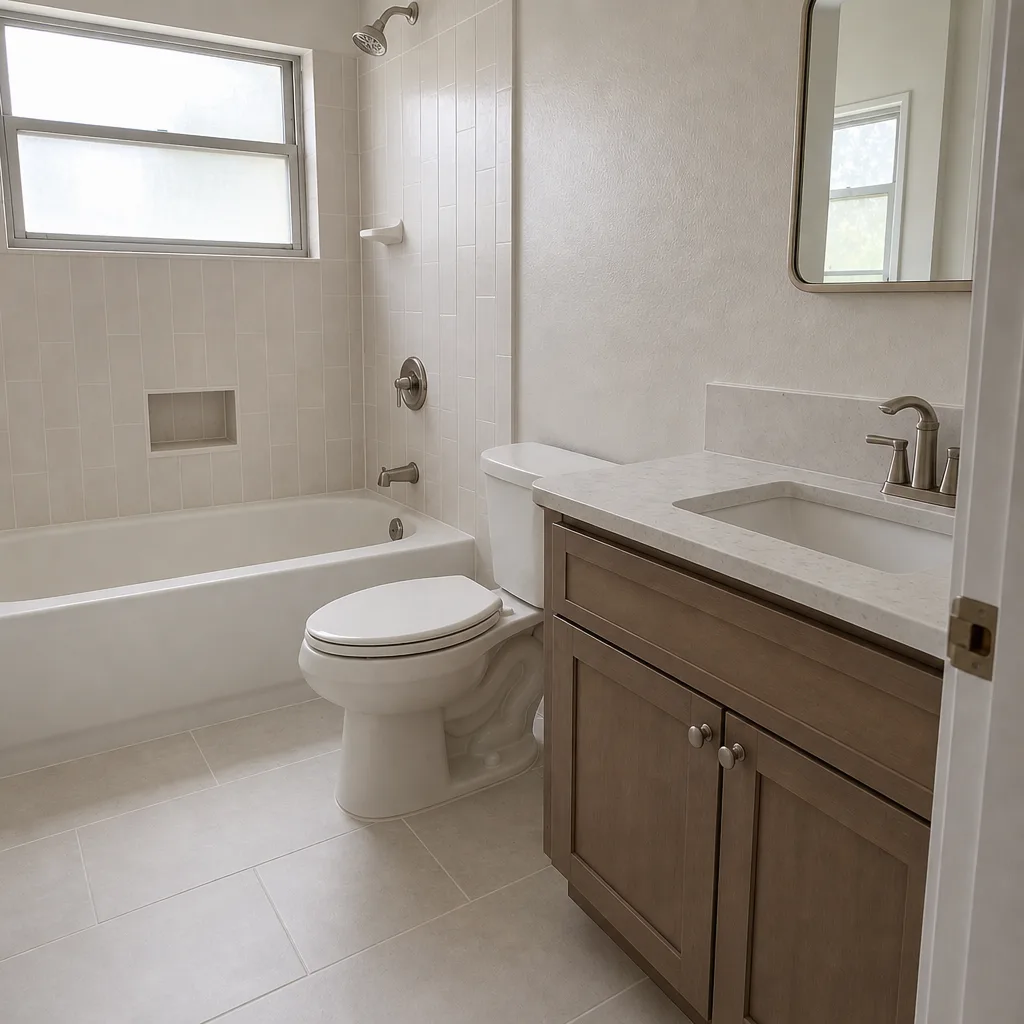 After
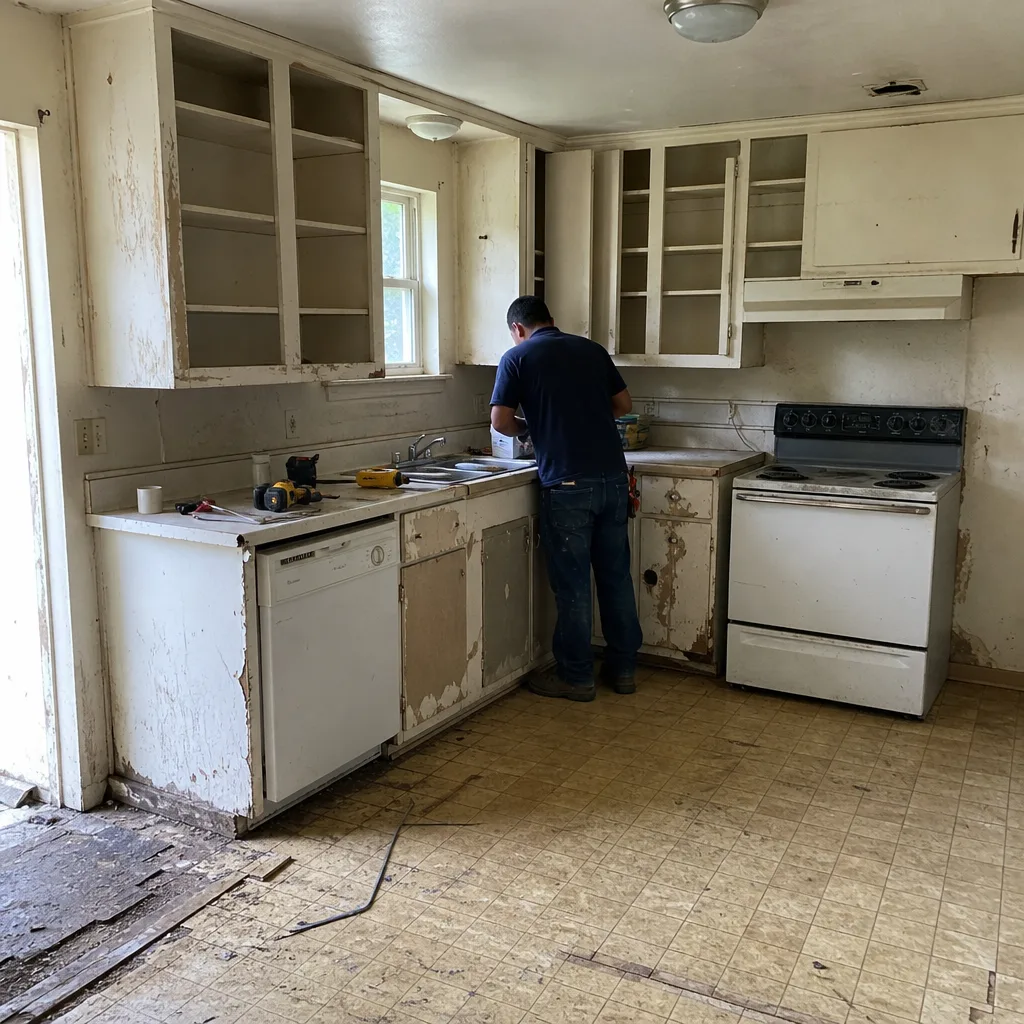 Before
 After
When to Call a Professional
Call a professional if any of these describe your project: the site has no natural fall or drains toward the house; you’re installing a driveway (not a small patio) over Dallas clay; you’re removing an old, failed base and replacing it; tree roots run through the area; the work requires regrading or a change to the site’s impervious surface near a right-of-way; or you simply want the work backed in writing so a failure in year four is someone else’s problem. Any one of these tilts the math toward a pro, and more than one makes it clearly the right call. A full driveway done correctly once, with an engineered base and a 730-Day Done Right Promise, is usually cheaper over twenty years than one DIY attempt plus one remediation.
Groundwork Construction Co. of Dallas offers free estimates in Dallas – call (844) 797-4808 to schedule yours. Calls are answered by a live person around the clock, the estimate is a written line-item number, and $1,000 off projects over $10,000 plus 0% financing for 18 months make a full install easier to say yes to than you might expect.
Frequently Asked Questions
You can physically lay pavers, but a full driveway install in Dallas is not a realistic DIY project because the clay base requires deep excavation, layered compaction with a vibratory roller, and engineered drainage that most homeowners can’t execute correctly without professional equipment. Small patios and repair work are realistic DIY. Large installs over Dallas clay usually aren’t.
A professional install typically costs noticeably more per square foot upfront than DIY materials and rentals, and it buys you the excavation, engineered base, compaction to spec, and a written warranty. DIY looks cheaper until it fails inside five years, at which point remediation – demo, haul-away, and a full reinstall – typically runs higher than the professional price would have been in the first place. Call (844) 797-4808 for an exact quote on your project – estimates are free.
Plan on roughly 10 to 12 inches of total excavation – the paver thickness, a bedding sand layer, and a compacted base typically in the 6 to 8-inch range, built up in thin, compacted lifts. Active Dallas clay may call for deeper base or subgrade treatment where the soil moves, which is why an on-site read matters more than a generic number.
Individual paver repairs, joint re-sanding and polymeric resealing, small paver patio extensions over a sound and well-draining site, and decorative accent borders are all reasonable DIY work. Stay under roughly 200 square feet, keep the project on flat or gently graded ground, and rent the right compactor for the base.
The install looks good for a season or two, then the clay moves with moisture cycles and the pavers heave, settle unevenly, and spread at the edges. What you’ll notice first are widening joints and a washboard surface, followed by cracked pavers. The fix is almost always full removal and a spec base – there’s no surface repair that corrects a failed base. If you already have a failing install, call (844) 797-4808 for an honest assessment.
Where the scope requires it – typically when work changes grade, drainage, or impervious surface near a right-of-way or easement – the correct approach is to pull permits and pass inspections, and we do that. Many straightforward driveway replacements within a lot don’t require a permit, but you’ll want a contractor who’ll tell you which side of that line your project sits on rather than just assume.
The Bottom Line
The DIY-versus-pro call on driveway pavers comes down to the base, not the surface. If your project is a small patio, a repair, or a resealing job over a proven base, do it yourself – it’s satisfying and it saves real money. If it’s a full driveway over Dallas’s expansive clay, the excavation, compaction, and drainage work is 70 percent of the job and the part that decides whether it lasts 25 years or fails in five, and the equipment and tolerance to get it right are professional territory. A failed DIY install rarely saves anything once you count remediation, and a professional install done correctly once, backed in writing, is the cheaper choice over twenty years. Start with an honest read of your site, and call (844) 797-4808 when the base is beyond what you can build. Estimates at Groundwork Construction Co. of Dallas are free, the pricing is upfront with no surprises, and every project carries the 730-Day Done Right Promise – built to last, backed in writing.
Written by the team at Groundwork Construction Co. of Dallas.