
Last updated November 16, 2026
 Home additions & ADU
 Kitchen remodeling
 Bathroom remodeling
 Roofing
 Windows & doors
 Driveway & pavers
 Fence
Free written scope consultation - allowances, timeline, and change-order rules on paper before a single trade is scheduled
Home Additions & ADU Maintenance Schedule: What to Do and When
The junction between a new addition and an existing structure is the most maintenance-neglected square footage on a property. In Dallas, that seam gets hit with everything the climate can throw at it: summer heat that pushes roof surface temps past 150°F, hail that dents soft metals and pries at flashing, UV that cooks sealant until it cracks, and expansive clay soil that swells and shrinks with every wet and dry cycle. The result is predictable. Tie-in flashing fails, caulk joints open, foundation planes shift at the transition, and by the time a homeowner notices, water has been working behind a wall for two seasons. This guide walks through exactly what to inspect, when to do it, and what early failure looks like before it gets expensive – in Dallas and anywhere else the ground moves under a house.
Quick Answer
Inspect the roof tie-in and all flashing where the addition meets the original structure every spring and fall, check caulk at old-to-new material transitions twice a year, and measure foundation movement at the transition seam for the first three years after construction. Most additions need this rhythm because Dallas’s heat expansion and clay soil movement stress the seam harder than any other part of the building. The core principle: your addition and your ADU are not separate structures bolted together, and treating them as anything but one continuous building is where the maintenance failures begin.
Styles & brands we work with
- Kitchen remodeling
- Bathroom remodeling
- Home additions & ADU
- Roofing
- Windows & doors
- Driveway & pavers
- Fence
Table of Contents
- Why the Old-to-New Seam Is the Maintenance Fault Line
- Roof Tie-In and Flashing: The Twice-Yearly Inspection
- Foundation Monitoring for the First Three Years
- HVAC Filters and Extended Duct Runs in Additions
- Exterior Envelope at the Material Transition Point
- ADU Rental Maintenance: Structure and Liability
- The Annual Calendar at a Glance
- Common Mistakes to Avoid
Why the Old-to-New Seam Is the Maintenance Fault Line
A new addition is built to current codes and materials; the original house may be 30, 50, or 70 years old. Those two buildings move differently. When the sun heats the addition’s south wall in a Dallas July, that wall expands at a rate the older brick, wood, or stucco it shoulders against does not match. Add clay soil that swells after a rainstorm and shrinks in August, and you have a slow, quiet tug-of-war happening at the one line where the buildings meet.
What fails first, in our experience? The sealant. Most modern exterior caulks hold up to a few seasons of Texas UV before they harden and pull away from the substrate. A hairline gap at a seam looks cosmetic until wind-driven rain finds it. Behind that gap is sheathing, framing, and eventually insulation – all of which degrade out of sight.
The second failure point is flashing. Flashing is thin metal that directs water away from the seam, and it is the least-visible part of the job. It works silently until it doesn’t. When flashing lifts or its sealant fails, water gets under the roofing and into the wall cavity. By the time a homeowner sees a stain on a ceiling, the repair is no longer a $200 caulk-tube job.
The third failure point is the structural transition itself. The two buildings settle on their own schedules. The addition is newer and lighter; the original house has already finished most of its settling. The seam shows that difference. Keep reading for a monitoring protocol that tells you what movement is normal and what means you call someone.
This is why we treat the seam as its own maintenance zone on every project we hand back to a homeowner. It is the square footage that decides whether the rest of the addition lasts.
Roof Tie-In and Flashing: The Twice-Yearly Inspection
The roof tie-in is where the addition’s roofing plane meets the original roofline – and where a sloppy or aged seal lets Dallas rain and hail inside. Inspect it twice a year, ideally once in early spring (before the severe-weather season peaks) and once in late fall (before winter). Here is what the inspection covers:
- Look at the flashing itself. Any lifting, curling, or visible gap between the flashing and the roofing material is a flag. Compare it to photos you took at completion – the metal should look flat and tight, with no daylight visible underneath.
- Check sealant joints at the flashing. Run a thumb along the caulk lines. Hard, cracked, or missing sealant gets replaced, not neglected. UV is the primary killer in a Dallas summer, and the sealant at the tie-in sees direct sun most of the day.
- Clear debris from the valleys. Where the addition roof meets the original, water has to be funneled away. Leaf and granule buildup in that valley holds moisture against flashing. Clear it every inspection.
- Look for granule loss and granule streaks. Aged shingles on either roof plane shed granules that pile up in the splice area, and the streaks show where water is running. If you see fresh granules after a storm, the shingles above are aging or damaged.
- Check for hail impacts after every major storm. Dallas hail does most of its damage to soft metals – flashing, vent boots, and pipe collars. After a hailstorm of any size, look at the flashing at the tie-in for denting and dimple patterns. A dented flashing might still seal, but the sealant around it may have cracked.
One caution: any actual repair on the tie-in flashing involves working at height on a pitch, and the flashing itself is what keeps water out of your walls when you’re done. If you find lifting flashing, cracked sealant beyond a simple bead of exterior caulk, or any softness underfoot, that’s roof work for a trained crew, not a homeowner patch job.
If roofing on the addition is up for replacement, this is the same conversation: a full roofing replacement in Dallas is the point where you want the tie-in detailed correctly the first time, with flashing installed by a crew that understands how a new roof plane interacts with an older one.
Foundation Monitoring for the First Three Years
Every new structure settles. In Dallas’s expansive clay soil, “normal settlement” is a real and measurable thing – and it is ten to twenty times more active than the settlement a homeowner imagines. The first three years after your addition completes are the high-attention window. Here is a simple monitoring protocol you can do yourself, plus what to leave to a foundation pro.
What to measure
- Pick six reference points along the old-to-new transition. Measure, photograph, and record: 1) the floor level across the seam (a laser level is best, a steel ruler laid across the joint works), 2) the door and window operation on both sides of the seam, 3) the caulk gap at the base of exterior walls on both sides, 4) any line cracks in the interior wall or ceiling at the transition, and 5) the gap width at exterior wall joints.
- Take the measurements at the same time every season. Wet season (usually spring, at the end of the wet spells) and dry season (typically late August) give you the two extremes. Four seasons of data tell you more than one snapshot ever will.
- Photograph every reference point with a date card or phone date stamp. Ten minutes twice a year. Compare year to year.
What is normal
- Seasonal floor movement of less than 1/8 inch across the seam, and doors that stick for a few weeks in the dry season then return to normal.
- Hairline cracks (1/16 inch or less) in drywall at the transition that appear during dry spells and do not grow much.
- Exterior caulk gaps that open slightly during dry weather and close in the wet season.
What is alarming
- Floor height differences across the seam of more than 1/4 inch that do not return to baseline when the soil re-wets.
- Doors that stick every season and get worse year over year.
- Cracks in drywall or brick veneer that grow in width or length despite seasonal cycles, or cracks in a diagonal pattern.
- Separation of the addition slab from the original slab foundation, or gaps opening at the wall-to-floor joint.
If you measure any of the alarming signals, a licensed structural or geotechnical engineer should look at it. This is the kind of evaluation a structural engineer performs with a report and photos you can keep. A good Dallas engineer will tell you whether the movement is within seasonal tolerance or needs a fix – and early intervention is far cheaper than a retrofit. It helps to know what “foundation fix” actually costs in Dallas when you judge the value of getting eyes on it early.
And a note on crawl spaces and drainage: any addition along a Dallas creek-side or low-lying lot should have its grading and gutter discharge checked every wet season, because water is what drives the clay movement in the first place. Poor drainage on the original house now affects the addition too.
HVAC Filters and Extended Duct Runs in Additions
An addition’s HVAC system almost always has longer duct runs than the original house. That distance sounds minor until you consider what it does to filter life. Longer runs mean more duct surface for dust to settle on, and return air that travels farther. If the addition has a dedicated zone or a small split system, it lives a different maintenance life than the main house. Here is the schedule that works:
- Filters: every 60 days for the addition’s zone if it has its own return, and every 90 days for the main system during peak cooling months. In Dallas, AC runs from April through October in a typical year, so that’s 4-6 filter changes annually on a system with extended runs.
- Duct inspection: once a year. Look for disconnected joints, torn flex duct, and dust streaks near vents. Walk the run in an attic or crawl space. A disconnected duct in a Dallas attic wastes conditioned air and pulls in attic heat to the tune of hundreds of dollars a summer.
- Condensate drain: check monthly in cooling season. If the addition’s air handler is in its own closet or attic, that condensate line can clog with algae and back up. A float switch that shuts the unit down saves the ceiling; a drain pan is not optional.
- Return air balance: check once a year. A new addition often has doors that close it off. Keep at least a small return path or a door undercut so the addition does not pressurize and push conditioned air leaking into walls or attic.
- Filter type: buy the right one. MERV 13 filters capture more, but on an extended duct run they put more strain on the blower. If the addition’s system was sized for MERV 8, keep MERV 8 and change it more often. A contractor who installed the system can tell you what it was designed for.
Typical cost to service and inspect a zoned system with long runs runs modest at most – usually a routine service visit. The expensive alternative is a burned-out blower from a clogged filter or a soaked ceiling from a clogged condensate line. Both are avoidable with a calendar.
Exterior Envelope at the Material Transition Point
The old-to-new material transition is where two different walls meet: 1950s brick against new fiber cement, original stucco against new James Hardie siding, older wood cladding against new construction. These materials expand and contract at different rates, and the seal between them is what keeps water out. This is the highest-wear caulk joint on the property.
What the annual envelope inspection covers:
- Walk the full transition line. Look at every joint where the new wall meets the old. Run your finger along the caulk. Any joint that is cracked, separated from the substrate, or missing should be cleaned and resealed with a high-quality exterior sealant rated for that material combination.
- Check the weepholes. If the original house is brick veneer, the weepholes at the base and above windows must stay open. A common mistake during an addition is caulking a weephole shut, which traps moisture behind the brick. Look at each one and clear any blockage.
- Inspect trim and drip edges. Replacement transition trim (fascia, corner boards, drip cap) needs its own caulk and paint maintenance. If your new siding is fiber cement, check that it is painted or sealed per manufacturer instructions – and if the brand partner is a James Hardie product, follow their exposure and paint guidelines exactly.
- Check paint or stain at the old wall. The paint on the older material near the transition often ages faster because the new construction changes how that wall handles moisture. Look for bubbling, peeling, and chalky film, which are signs water is getting behind the paint.
- Look at the bottom edge of the transition. Where the addition’s wall meets the original foundation or slab, look for staining, efflorescence (white powder), or a soft, crumbly look in the mortar or sealant. Those are signs of water intrusion that is starting low.
On a Dallas property, the sun exposure here matters for material choice. On the west and south transitions, a standard acrylic caulk will not last a full season. A urethane or siliconized sealant rated for Texas heat does. That is why we recommend homeowners or their contractor reseal those two exposures every 24-36 months and inspect them every 12.
If the original house has windows on the wall that meets the addition, check the flash pan and sill levels on those too. A window that used to drain into open air may now sit next to a new wall, and its water has to get out where it isn’t trapped. A proper windows and doors installation in Dallas that anticipates the new conditions is what keeps those old windows from becoming a water problem.
Every ADU project also benefits from a solid plan for the grounds around it. Where does the rain runoff go? A well-graded Driveway & Pavers in Dallas installation with proper slope and drainage can keep water flowing away from the addition rather than pooling at the transition seam.
ADU Rental Maintenance: Structure and Liability
An ADU you rent out is two maintenance jobs in one: keep the structure sound and keep the owner’s liability covered. Some items on the list are shared with owner-occupied homes. A few are specific to a rental unit and get skipped when nobody lives in the ADU day to day.
Structural items shared with the main house
- Twice-yearly roof and flashing inspection at the tie-in, same schedule as the main house.
- Foundation reference-point checks at the transition – with one addition: measure after every major rainfall or dry spell, because a tenant may not report the early symptoms.
- Envelope and caulk inspection once a year, plus a visual from inside the unit every time you or a contractor is on site.
Rental-specific items
- Smoke and carbon monoxide detectors: test monthly. Dallas rental units have to meet the state’s detector requirements, and a detector that is missing a battery or more than 10 years old is both a safety problem and a legal problem.
- Water heater and plumbing: check for the signs of a failing supply line or a weeping water heater pan once a quarter. Water damage from inside a rental unit often stays hidden until the tenant reports a carpet is wet.
- Exterior walking surfaces: check steps, footpaths, and handrails on the ADU entry quarterly. This is a liability item, not a cosmetic one; a wobbly step and a tenant injury is a claim your insurance has to defend.
- HVAC filter changes in the unit: many setups put the filter at the return grille, and a tenant will not change it on a schedule. Put it on the rental lease calendar and change it every 60 days in cooling season, or install a filter at the return that can be changed by you on a quarterly visit.
- Tenant-accessible exterior doors and locks: check hinges, weatherstripping, and deadbolt throw annually. A loose storm door or a deadbolt that has stopped seating is a security item and a wear item.
- Written records: keep a log of every inspection with dates and photos. If a roof leak damages a tenant’s belongings, a documented inspection history is your defense – and a gap in the log is easy to exploit in a dispute.
For the fine line between rental-unit upkeep and a true renovation, a dedicated Home Additions & ADU in Dallas project page walks through what a ground-up build looks like. If a fence runs between the ADU and the main house, its security and property-line function ties into the rental management – a solid Fence Installation in Dallas plan is part of the property, not separate from it.
One more rental-specific note: don’t hand a tenant a maintenance checklist for structural items. Give them a simple reporting path, check structural items yourself, and keep the inspections on the professional side of the line.
The Annual Calendar at a Glance
Here is the whole year, organized so nothing slips. Treat this as your master schedule and mark it on a calendar or phone reminder system – the guide is only useful if the dates live somewhere you’ll see them.
- January: Foundation reference-point measurement (mid-dry-season baseline). Interior visual sweep at the transition seam. Smoke/CO detector test on the ADU.
- March: Roof and flashing inspection (pre-storm season), including tie-in flashing at the addition. Clear the roof valley at the tie-in. Check caulk at the transition and reseal any cracked joints. Schedule any HVAC service before cooling season.
- April: Air-conditioning season begins; change filters on all systems. Check the condensate line and float switch. Check ADU entry steps and handrails.
- June: Exterior envelope inspection at the transition line. Walk the weepholes, trim, drip edges, and cladding. Note paint/stain issues for fall.
- August: Foundation measurement (late-dry-season baseline). HVAC filter change. ADU water heater and plumbing check.
- October: Roof and flashing inspection (pre-winter), including post-storm hail check. Clear roof and gutter debris. Duct inspection and return-air balance on the addition’s system. Foundation measurement after the first fall rain.
- November: Reseal any exterior caulk joints that opened in the summer. Test smoke/CO detectors again. ADU lease calendar review: log any tenant-reported issues.
- December: Bring in any storm damage repair or exterior repaint that was deferred in the fall. Re-baseline photos for the coming year.
This calendar is built for the Dallas climate: the two roof inspections bracket the spring storm peak and the winter cold snaps; the foundation checks bracket the dry season’s worst soil shrinkage; and the caulk work happens in the window between the summer heat and the winter cold, when sealant actually cures properly.
Common Mistakes to Avoid
- Skipping the tie-in because it’s hard to reach. The roof tie-in is the highest-maintenance square footage on the property and the hardest to see from the ground. A homeowner who skips inspecting the addition’s roof-to-original-roof seam because the weather or the pitch is uninviting is the one who ends up with a wall cavity full of water. Get up there or get a professional up there twice a year.
- Resealing exterior caulk with the wrong sealant. A standard painter’s acrylic caulk on the southeast transition in a Dallas summer will crack within a year; a urethane or siliconized exterior sealant matched to the material combination is the only thing that lasts. Check the label against the material combination and the sun exposure.
- Reading foundation movement as a single snapshot. A crack that appeared once and never changed is not the same as a crack that is widening year over year. Most homeowner panic comes from a single bad measurement. Keep two seasons of reference points and compare them – and if the alarm signals show up, call a structural engineer, not a foundation contractor trying to sell a repair.
- Neglecting long HVAC runs until the system fails. An addition’s extended duct run with a clogged filter strains the blower every day. The mistake is treating the addition as “part of the house” and changing the filter on the main system’s schedule – the addition’s zone needs its own 60-day filer rhythm.
- Caulking the weepholes shut. Homeowners who try to stop a draft or an insect by foaming the weepholes are trapping moisture behind the brick veneer. Leave the weepholes open, and let a professional address any water entry you are trying to stop.
- Treating ADU rental maintenance as an occasional favor. A rental unit that gets “looked at when the tenant calls” is unmaintained. Put the quarterly water-heater and exterior-step checks on a schedule, and keep a written log so a damage claim doesn’t surprise you.
- Doing structural or roofing repairs yourself to save a call. Re-flashing a roof tie-in or patching a foundation gap is work that can make the problem worse, and it can void a warranty. Save the DIY for filters, caulk touch-ups, and reference-point measurements. Call a professional for anything structural.
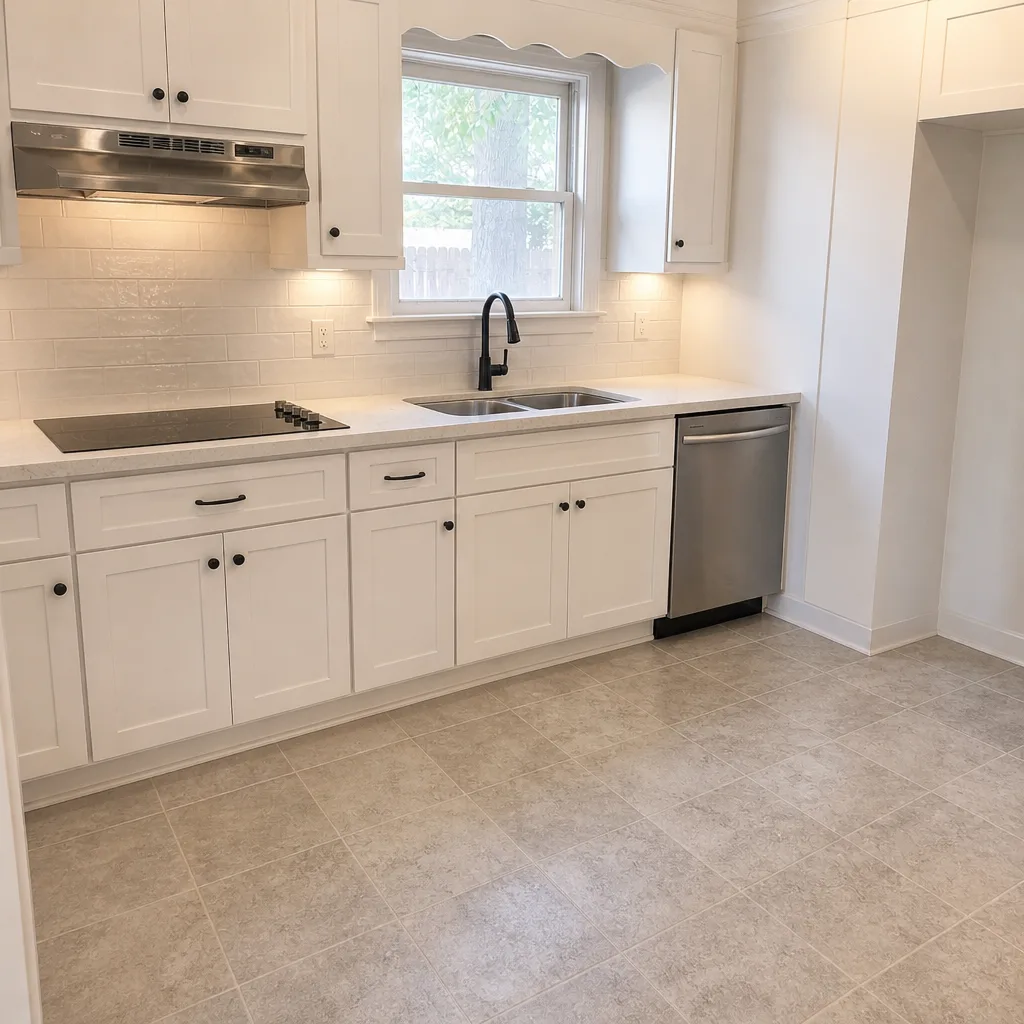
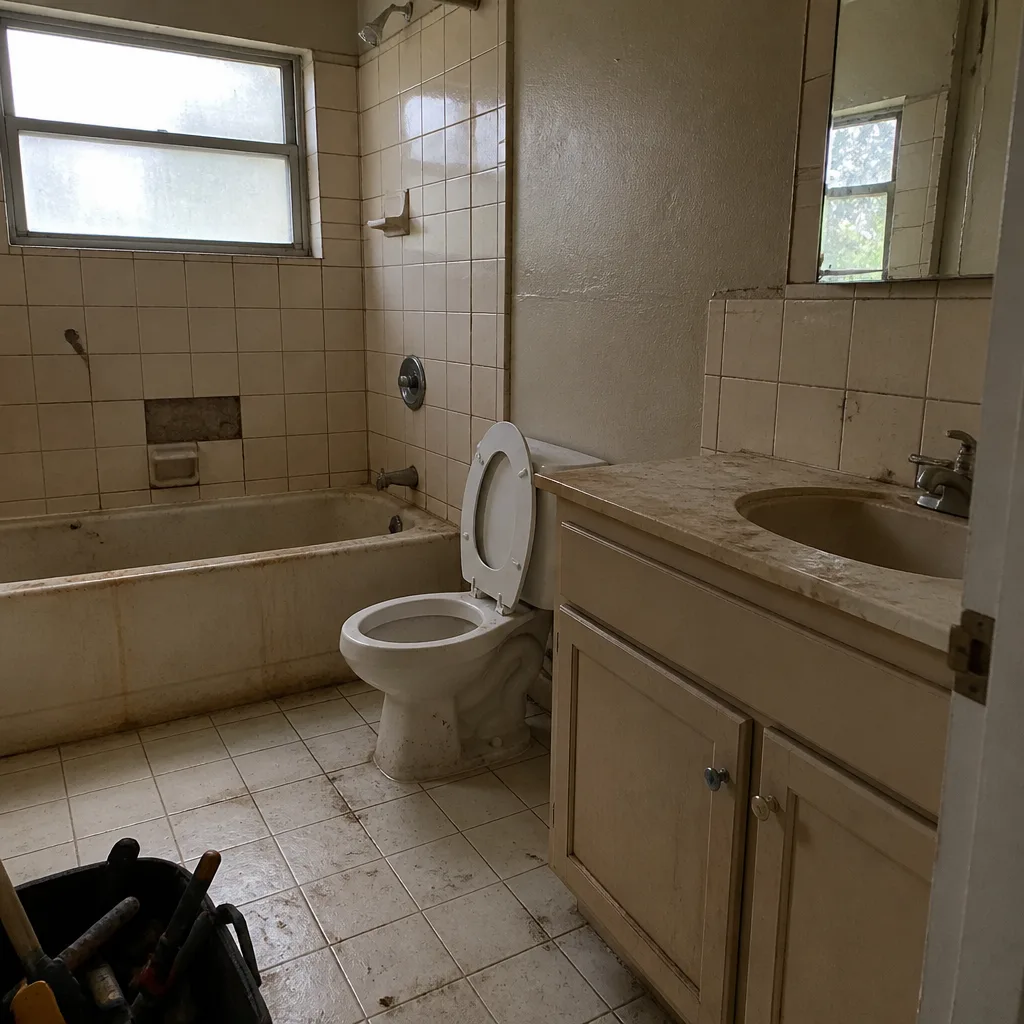
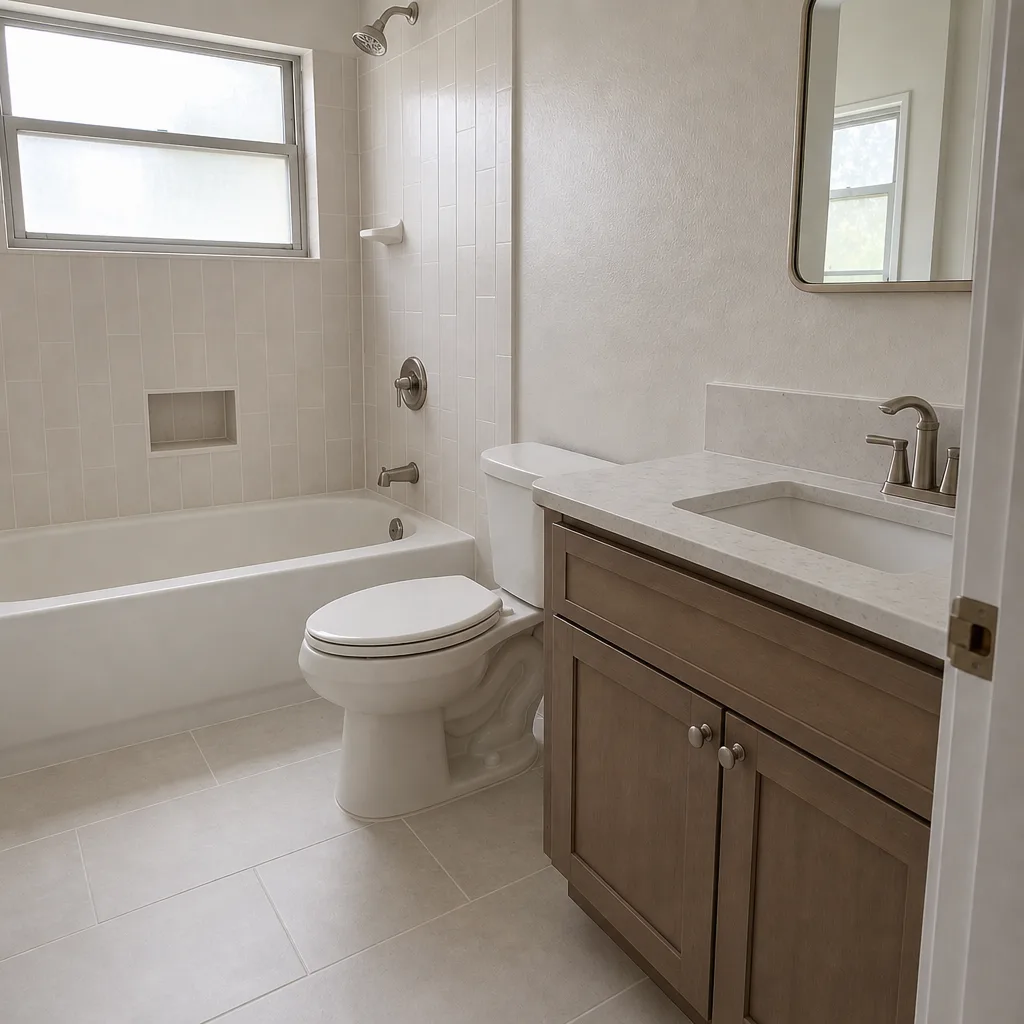
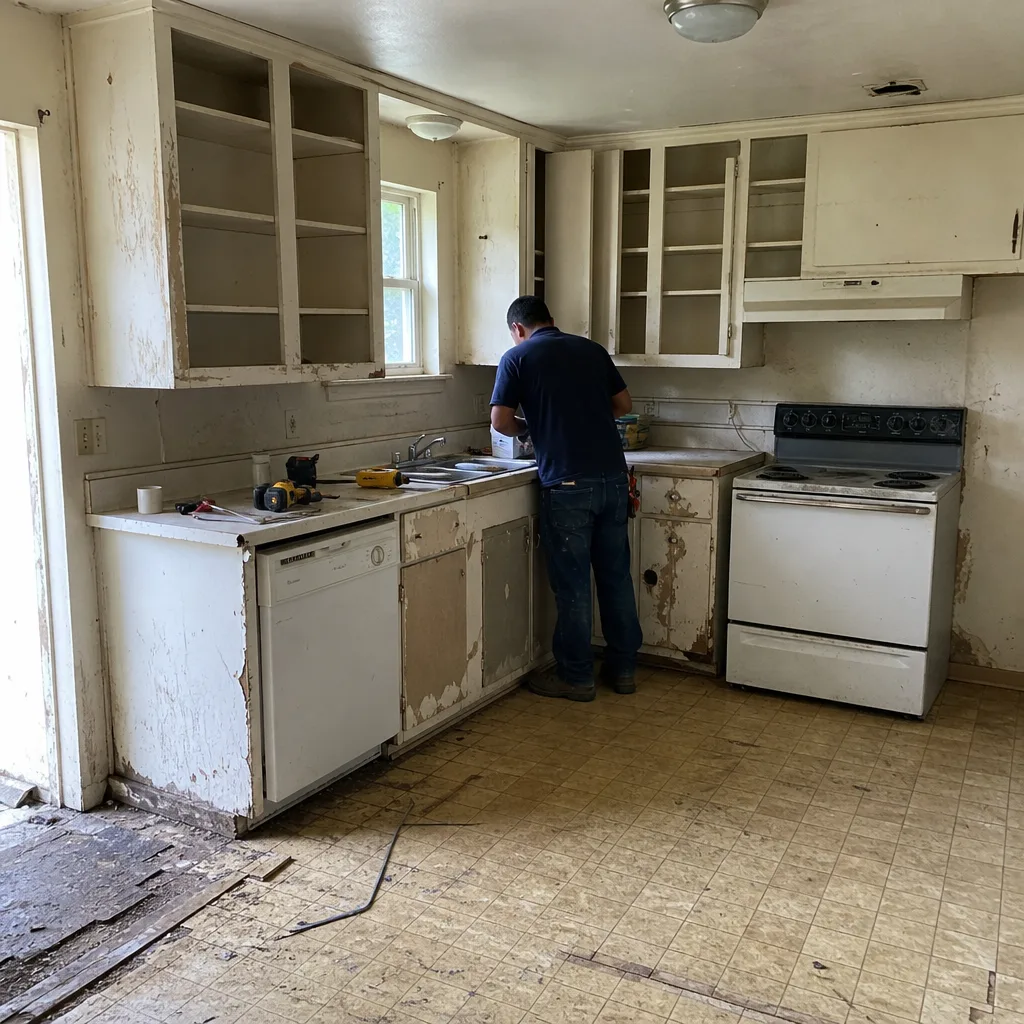
See the difference
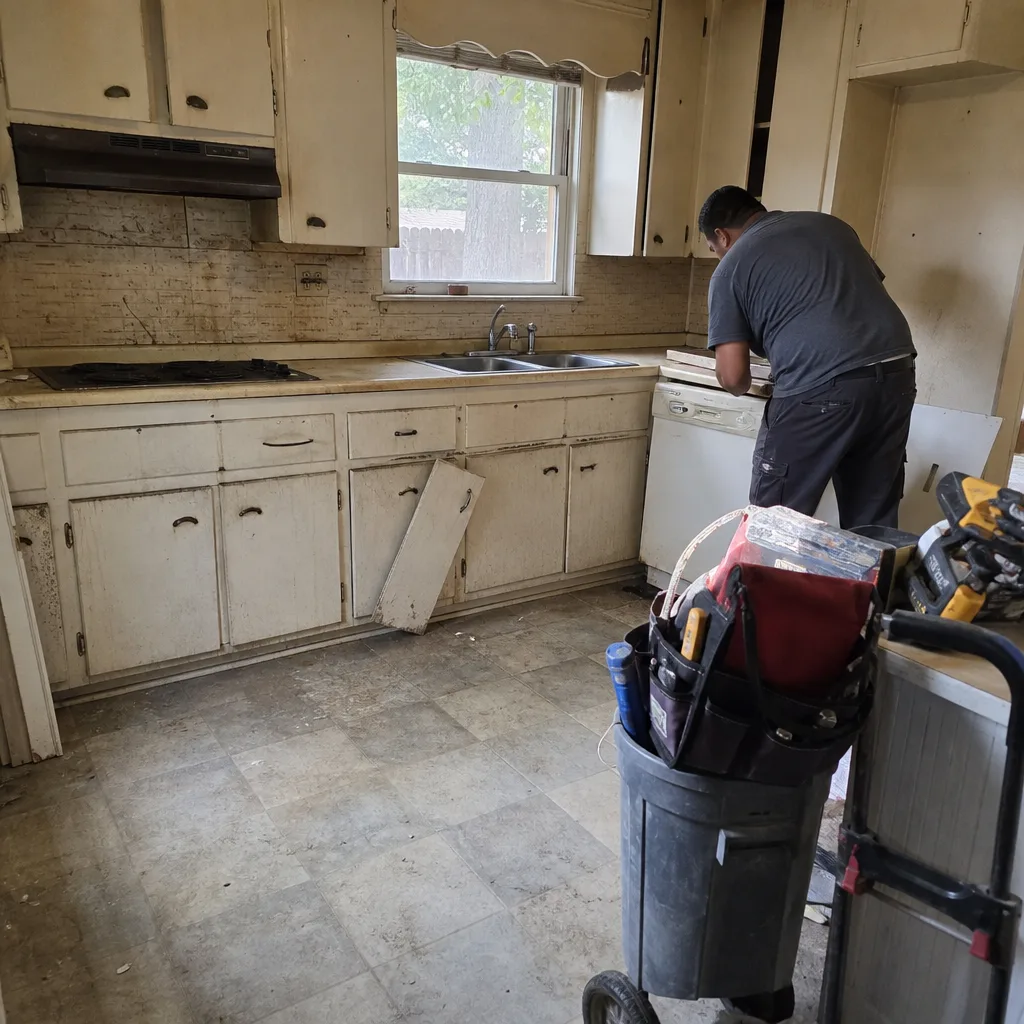 Before
 After
 Before
 After
 Before
 After
When to Call a Professional
Call a professional when the roof tie-in flashing is lifting, the sealant at the transition has failed at a rate beyond a simple caulk respray, or any softness or stain appears inside the addition at the seam. Call a structural engineer when your foundation reference-point measurements show movement past 1/4 inch that doesn’t return with the seasons, when cracks grow despite seasonal cycles, or when doors and windows on the old-to-new transitions start sticking year over year. Call an HVAC pro when the addition’s zone can’t keep its temperature, when the return air balance is off in a way the filter changes don’t fix, or when a condensate line has clogged more than once. Call a roofing contractor after any Dallas hailstorm large enough to dent the flashing. Groundwork Construction Co. of Dallas offers free estimates in Dallas – call (844) 797-4808.
Frequently Asked Questions
Do a full inspection at least twice a year – one in early spring and one in late fall – with extra checks after every major hailstorm and at the two seasonal extremes (spring wet, late-summer dry). Dallas’s heat expansion and clay soil movement mean the addition-to-original seams get stressed more than most climates. Call (844) 797-4808 for a free estimate if your inspection finds anything that needs professional attention.
Most routine homeowner-level maintenance (caulk, filters, inspection time) costs a modest amount annually in material costs. Professional services run higher: a roofing and flashing inspection is generally a service visit fee, and a professional sealant and roofing touch-up at the tie-in typically falls in the low hundreds of dollars. A structural engineer’s evaluation runs more, typically a few hundred dollars for a report. Call (844) 797-4808 for an exact quote – estimates are free.
Seasonal floor movement under 1/8 inch across the old-to-new seam, doors that stick in dry spells then free up, and hairline drywall cracks (1/16 inch or less) that don’t grow are all within normal for Dallas clay soil. Movement over 1/4 inch that doesn’t come back with the seasons, growing cracks, and doors that get worse every year are the signals to call a structural engineer. Keep two seasons of measurements at fixed reference points before you decide anything.
Yes – addition and ADU work in Dallas requires permits, and a project we handle gets permits pulled and inspections passed. That matters for the maintenance guide too: if a previous contract skipped permits, the maintenance and repair guidance is different because the build quality itself is unknown. Call (844) 797-4808 and we’ll talk through what a properly permitted build includes.
Inspect both planes separately: the flat roof’s seams and drains need their own pass, and the tie-in between the flat and the pitched original roof is the highest-priority joint on the property. On flat roofs, the parapet and drain flashing are the main failure points, and you should look for ponding that lasts more than 48 hours after rain. If your Dallas property has a flat-roofed ADU, that inspection should be done by a roofer once a year, not a homeowner. Call (844) 797-4808 to schedule a free estimate for any repair at the tie-in.
Because an ADU is rented, structural checks must be scheduled rather than relying on the tenant to report them, and the maintenance log is a liability document, not optional. Smoke and CO detector testing, plumbing checks, and exterior walking-surface checks all need written records on a fixed schedule. The structure itself needs the same tie-in, flashing, and foundation protocol as the main house – the difference is who does the watching. Call (844) 797-4808 for a free estimate if you want a professional to review the rental unit’s maintenance plan.
For the full picture on how the whole project fits together, start at the Groundwork Construction Co. of Dallas home page.
The Bottom Line
The seam between an addition and the house it attaches to is the square footage that decides whether the whole build holds up. In Dallas, that seam takes a twice-yearly inspection on the roof flashing and the caulk, a three-year foundation monitoring protocol measured against seasonal baselines, 60-day HVAC filter changes on the addition’s extended duct run, an annual walk of the exterior envelope where old materials meet new, and a rental-specific schedule for the ADU that keeps a written record. Do those six things and you catch the failures while they’re still cheap. Skip them and the seam is where the big repair hides. When any inspection turns up a cracked joint, lifting flashing, or foundation movement beyond the normal range, it’s time to call a pro. Groundwork Construction Co. of Dallas offers free estimates in Dallas – call (844) 797-4808 for yours, and we’ll walk the seam with you.
Written by the team at Groundwork Construction Co. of Dallas.