
Last updated November 17, 2026
 Home additions & ADU
 Kitchen remodeling
 Bathroom remodeling
 Roofing
 Windows & doors
 Driveway & pavers
 Fence
Free written scope consultation - allowances, timeline, and change-order rules on paper before a single trade is scheduled
Home Additions & ADU Warning Signs Every Homeowner Should Know
A hairline crack in drywall near an addition doorway isn’t just settling. In many cases it’s the first visible evidence of a foundation tie-in failure that will cost $40,000 to correct if it’s ignored past the two-year mark. That’s the thing about additions and ADUs: unlike a paint job or a finished basement, a flawed addition can compromise the structural integrity of the whole house you already live in. This guide walks you through the warning signs that point to systemic problems in Dallas work, not cosmetic shortcuts, and what to do about each one.
Quick Answer
The biggest warning signs of a failing home addition are stair-step or diagonal cracks at the junction where the addition meets the original house, doors or windows in the addition that stick and get worse over time, moisture staining at addition walls or ceilings, a sagging or misaligned roofline where the two rooflines meet, and evidence that the work was never permitted or inspected. Any one of these signals needs a professional structural evaluation before cosmetic repairs. In Dallas, expansive clay soil makes tie-in failures more common than most homeowners expect.
Styles & brands we work with
- Kitchen remodeling
- Bathroom remodeling
- Home additions & ADU
- Roofing
- Windows & doors
- Driveway & pavers
- Fence
Table of Contents
- How to Tell Cosmetic Settling Cracks from Structural Movement
- The Rafter Tie-In Check Anyone Can Do from the Attic
- Moisture Intrusion Signs at Addition Walls and Ceilings
- What Sticking Doors Really Tell You About Foundation Performance
- How to Tell If an Addition Was Permitted and Inspected
- Why Dallas Clay Soil Punishes Bad Additions
- The 10-Minute Walkthrough We Do on Every Addition
How to Tell Cosmetic Settling Cracks from Structural Movement
New construction moves. For the first 12 to 18 months after an addition is finished, some cracking is normal as lumber dries and the structure finds its footing. The trouble starts when cracks form in specific patterns at the junction where the addition ties into the existing home, and they keep growing.
Here’s how to read what you’re seeing. Cosmetic cracks are typically vertical, hairline-thin (under 1/16 of an inch), and appear on interior drywall in the middle of a wall or above a corner. They may stop on their own within a year. Structural cracks are a different animal entirely:
- Stair-step cracks in brick or block veneer, following the mortar joints. These almost always point to movement in the foundation below.
- Diagonal cracks radiating from the corner of a doorway or window in the addition. That’s a stress concentration, and it usually means the header or tie-in isn’t carrying the load it should.
- Cracks wider than 1/8 inch, or any crack you can slip a dime into.
- Cracks that reappear after you patch and repaint them within 6 months. If it came back, the movement is active.
- Cracks at the tie-in seam – the exact line where the new wall meets the original exterior wall. This is the single most diagnostic location in the entire addition.
In Dallas, we regularly see a specific failure pattern in additions built during the 2015 to 2019 boom: the new foundation slab was poured with a cold joint against the original pier-and-beam house, and the two systems move independently under the clay soil’s seasonal swell and shrink. The result is a diagonal crack at the tie-in seam that starts small in year two and runs a quarter-inch wide by year five. If you’re seeing that pattern, you’re not looking at settling. You’re looking at two foundations fighting each other, and the fix is not drywall mud.
Get a professional evaluation before you cover it up. Home Additions & ADU in Dallas qualifies a licensed structural professional to inspect tie-in points and tell you exactly what’s moving and why.
The Rafter Tie-In Check Anyone Can Do from the Attic
Here’s something you can check yourself this weekend: whether the roof framing of your addition was actually tied into the existing house. This is where cut corners hide most reliably, because the roofline is the hardest part of the job to redesign after the fact and the easiest place to save a few thousand dollars in labor.
Get a flashlight and a ladder, and step into the attic opening that accesses the addition roof. Look at where the new rafters meet the existing roof structure. A correct tie-in looks like this:
- Rafters are connected with metal hurricane ties or framing hardware, not just toenailed with a few 16-penny nails. You should see metal straps where the rafters meet the ridge board and where they connect to the existing wall top plate.
- The new roof framing bears on a proper header or beam where it meets the original structure. Look for a doubled, solid piece of lumber spanning the opening, not a spliced or pieced-together support.
- Roof sheathing is continuous across the valley where the two roofs meet. There should be no gap or overlap that would let water in.
- You shouldn’t see daylight through the connection points. That sounds obvious, but we’ve found it, and it means water is finding it too.
What you don’t want to see: rafters simply nailed into the side of the existing house without a framed-in connection, single boards where doubles are required, or a roofline that visibly dips where it meets the old roof. That dip – called a sagging valley – is a reliable sign the tie-in isn’t carrying the load. On a Dallas addition built against an existing hip roof, a poorly tied valley will show up in the first heavy spring storm, and you’ll find the leak on the ceiling of the addition, not at the roofline. The leak is the symptom. The framing is the problem.
If anything in the attic looks off, don’t climb onto the roof to investigate. Steep roof work and roof framing corrections are not homeowner jobs. That’s a call for a licensed roofer.
Moisture Intrusion Signs at Addition Walls and Ceilings
Water is patient. An improperly flashed addition wall can take a full year to reveal itself, which is exactly why moisture problems make it past the one-year walkthrough – by the time you see the stain, the mold colony is already six months old.
Most moisture failures at additions come from two sources: missing or improper flashing where the new roof meets the existing wall (a “roof-to-wall” transition), and a vapor barrier that was installed backwards or not at all behind the new exterior wall. In Dallas, where we get our rainfall in concentrated spring and fall bursts rather than steady drizzle, poor flashing has to hold back a lot more water in a lot less time. A flashing detail that worked in a dry climate fails here.
Watch for these signs, in this order of urgency:
- Water staining on the ceiling near the wall that separates the addition from the original home. This usually points to roof-to-wall flashing failure.
- Peeling paint or bubbling drywall at the interior face of the addition’s exterior walls. That’s moisture wicking through from the outside, typically a vapor barrier or housewrap problem.
- Musty smell in humid months that gets worse after rain. The smell precedes visible mold almost every time.
- Discoloration around electrical outlets or at the base of walls. This one deserves immediate attention – moisture near wiring is a hazard, not a cosmetic problem.
- Deteriorating caulk and soft wood at the addition’s exterior corners. Caulk fails at the tie-in seam first because that seam moves more than any other joint.
Don’t treat any of this with a coat of Kilz and a fresh paint job. Cover-up delays the fix and gives the mold more time. In our experience, a moisture problem caught in the first rainy season costs a few thousand to correct. The same problem caught in year four, after mold has spread through the wall cavity, costs five figures and involves opening the wall. Dallas summers are humid enough that a hidden mold colony grows fast.
What Sticking Doors Really Tell You About Foundation Performance
Doors that don’t close right are the most common complaint we hear about additions. They’re also the most misdiagnosed. A sticking door can be a hinge adjustment. Or it can be the only clear signal that the foundation under your addition is losing the fight with clay soil. Here’s the measurement test that tells you which it is.
Pick the door that sticks the worst. Do this:
- Measure the gap at the top and bottom of the door on both sides with a tape measure or a set of feeler gauges. Write the numbers down, along with the date.
- Mark the trouble spot with a small piece of painter’s tape on the door frame where the door contacts it.
- Re-measure in 30 days. If the gap hasn’t changed, the door has warped or the hinge is loose and it’s a minor fix.
- If the gap has changed by more than 1/16 of an inch, or the door has moved along its contact point, the structure is moving. That’s foundation performance, not carpentry.
Repeat the same test on windows in the addition. Windows that were easy to open a year ago and now need two hands are telling you the same story as the door. And here’s the detail most people miss: check the doors in the original part of the house too. If the doors in the existing house are also starting to stick, the addition may be pushing or pulling on the original foundation – a much bigger problem than a door that needs planing. In Dallas, where the soil drains poorly and holds moisture unevenly, an addition built without a properly engineered foundation will show moving doors within three years in most cases.
How to Tell If an Addition Was Permitted and Inspected
Unpermitted addition work is a warning sign with real money attached to it. If you bought a house with an addition that never went through the city’s permit and inspection process, you’re carrying a liability that can affect your insurance, your ability to sell, and your mortgage. And here’s the part that matters most for this guide: unpermitted work is disproportionately likely to also be structurally deficient, because nobody with a license and a city inspector was looking at it.
You can verify permit history in Dallas in about ten minutes:
- Look at the addition itself. Find the electrical panel. An addition that was permitted will typically have its own labeled circuits or a subpanel. If panels are unlabeled or the addition is running off a single circuit, that’s a flag.
- Check the wall behind the electrical outlets. Pull an outlet cover plate. Permitted new walls have consistent box depth and neat wiring. Owner-built electrical work often shows shallow boxes, spliced wires with tape and no wire nuts, or no electrical boxes at all.
- Request the permit history from the city. Dallas maintains permit records, and you can request them for any property address. Ask specifically for permits issued for any addition, garage conversion, or ADU on record.
- Ask for the final inspection sign-off. A permit that was opened but never finaled means inspections were failed or never completed. That’s the worst outcome of all, because it looks permitted on paper.
- Look for the inspection sticker. Dallas inspectors leave a sticker on the electrical panel or mechanical unit when a job passes. No sticker, no proof.
What you do with this information depends on the situation. Buying a home with an unpermitted addition is negotiable – a structural evaluation before closing can either give you confidence or give you leverage. If you already own the home and the addition was done before you moved in, get a professional evaluation. Depending on what’s found, the path can range from a simple inspection to retroactive permitting, which is far less painful than fixing structural damage. In Dallas, we’ve seen two identical-looking additions in the same neighborhood where one had a full permit file and the other had never been inspected at all. The only way to know is to check.
Why Dallas Clay Soil Punishes Bad Additions
The single biggest reason home addition problems are more common and more serious in Dallas than in many other parts of the country is the soil. The black and gray clay that makes lawns lush in the spring swells dramatically when wet and shrinks when dry – we’re talking several inches of ground movement over a seasonal cycle. That movement is the enemy of any foundation, and it’s brutal on the junction where a new addition meets an older house.
The original house has already survived decades of that cycle. It’s found roughly where it’s going to sit. A new addition needs its own properly engineered foundation to handle the same movement, and it needs a tie-in design that lets the two structures move independently without opening a crack at the seam. When an addition is built on a simple slab without engineering for the soil conditions, one of two things happens: the addition moves one way while the existing house moves another, or the addition drags the original foundation along with it and cracks the walls of the main house. We see both regularly in Dallas – most often in additions built between 2010 and 2020 in areas where clay runs deep.
Drainage matters just as much. Dallas gets its rain in concentrated bursts, and a poorly graded addition corner or a downspout that dumps water against the foundation keeps the clay wet on one side and dry on the other. That uneven moisture is what creates the diagonal cracks and moving doors discussed above. What looks like a drainage problem and what looks like a foundation problem are often the same problem.
The 10-Minute Walkthrough We Do on Every Addition
When we evaluate a completed addition, we follow the same sequence because it separates symptoms from causes. You can do most of this yourself:
- Walk the exterior perimeter and look at the tie-in seam where the addition meets the original home. Look for cracks, failed caulk, or a visible step between the two walls.
- Trace the roofline where the two roofs meet. Look for a dip, a gap, or rusted flashing.
- Go into the attic and check the rafter connections with a flashlight. Metal straps, solid headers, no daylight.
- Test every door and window in the addition and in the nearest room of the original house. Note anything that sticks.
- Measure door gaps for a baseline you can compare against in 30 days.
- Walk the interior ceiling line near the tie-in wall with a flashlight at a low angle. That raking light reveals moisture stains invisible in normal light.
- Smell the corners. A musty smell that heights in humid weather is early mold and worth the attention.
- Check the electrical panel for labeling and any inspection stickers.
- Look at drainage around the addition corners. Water should shed away from the walls at a visible slope.
- Note the year the addition was built, and request the permit file from the city.
This walkthrough takes about ten minutes and tells you whether you have a cosmetic issue, an active structural problem, or a hidden liability. It’s exactly what we ask about on the phone before we send anyone out, and it’s why a free estimate on an addition project is genuinely useful: we come in knowing what to look for. If you’re planning a new addition or ADU and want it built on a foundation engineered for Dallas clay, the same walkthrough principles apply to the design and construction plan. That’s why the consultation matters before a single shovel hits the ground.
Common Mistakes to Avoid
- Patching structural cracks with drywall mud and repainting. It looks fixed for about six months, which is precisely long enough for the underlying movement to get worse. In Dallas, where clay movement is seasonal, patched cracks at tie-in seams reappear like clockwork every spring.
- Assuming sticking doors are a carpenter’s problem. Most homeowners call a handyman to plane the door before they ever measure the gap. If they’d done the 30-day measurement test, they’d have known the foundation was moving and saved the cost of an evaluation later.
- Skipping the attic inspection because “it’s just framing.” The attic is where you can see whether the roofline tie-in was done correctly, and it’s the cheapest inspection you’ll ever do. Bring a flashlight and look up.
- Buying or remodeling over an unpermitted addition without checking. Unpermitted work in Dallas is common, and it carries insurance and resale risk. Request the permit history before you commit.
- Using a vapor barrier or flashing detail meant for a drier climate. Dallas concentrates its rain, and details that work elsewhere fail here. Water intrusion at the addition wall is the result.
- Building an addition without engineering for Dallas clay. This is the root cause of most of the structural problems in this guide. The soil creates the movement; the foundation design either handles it or doesn’t.
- Waiting for the second rainy season to check the leak. The first leak is the cheap one to fix. By the second season, the wall cavity has been wet long enough for mold to spread.
See the difference
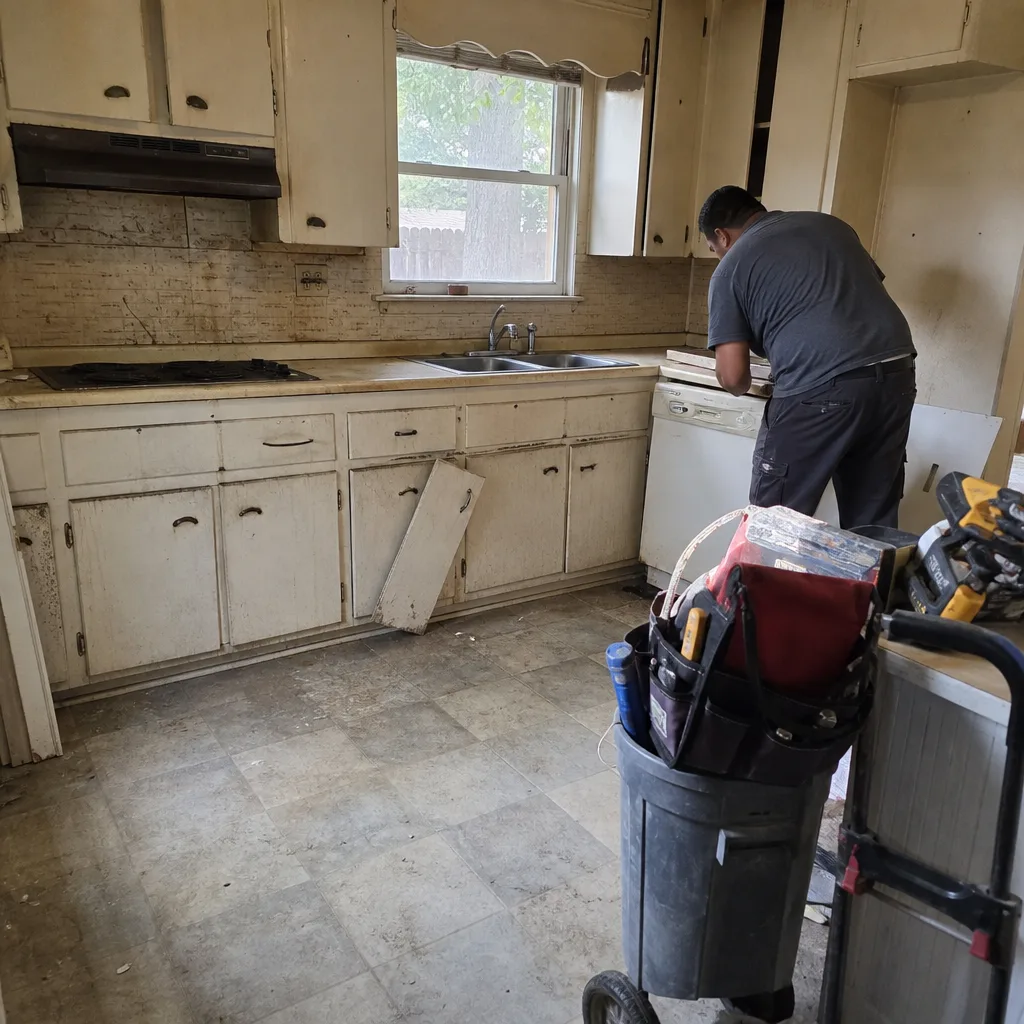 Before
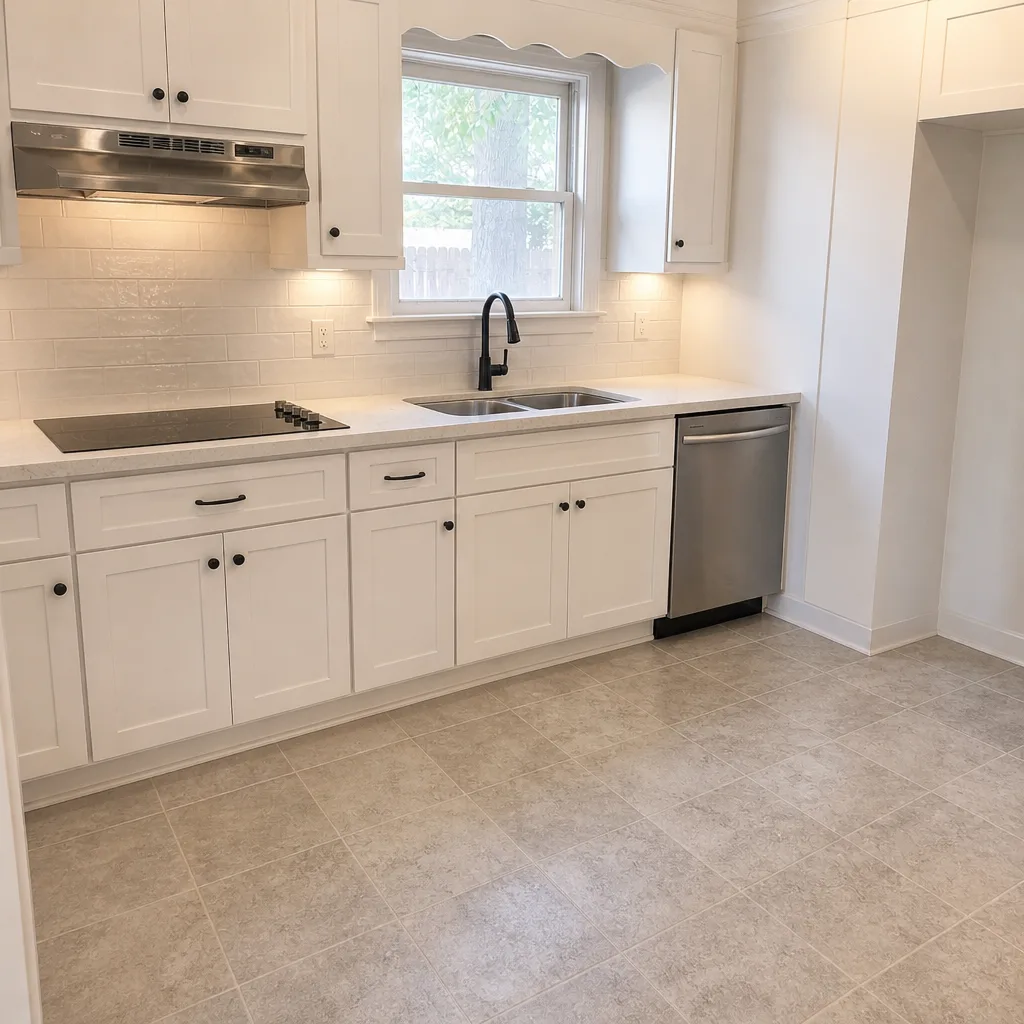 After
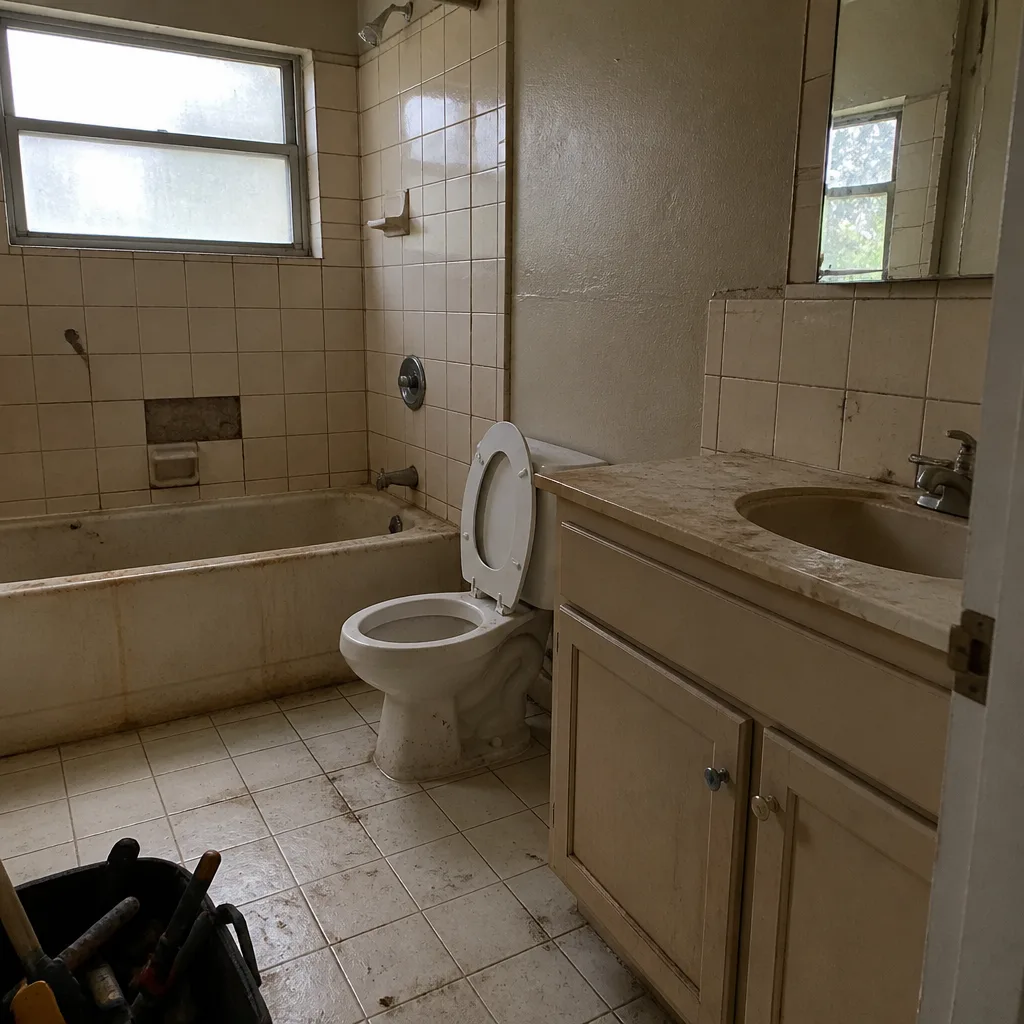 Before
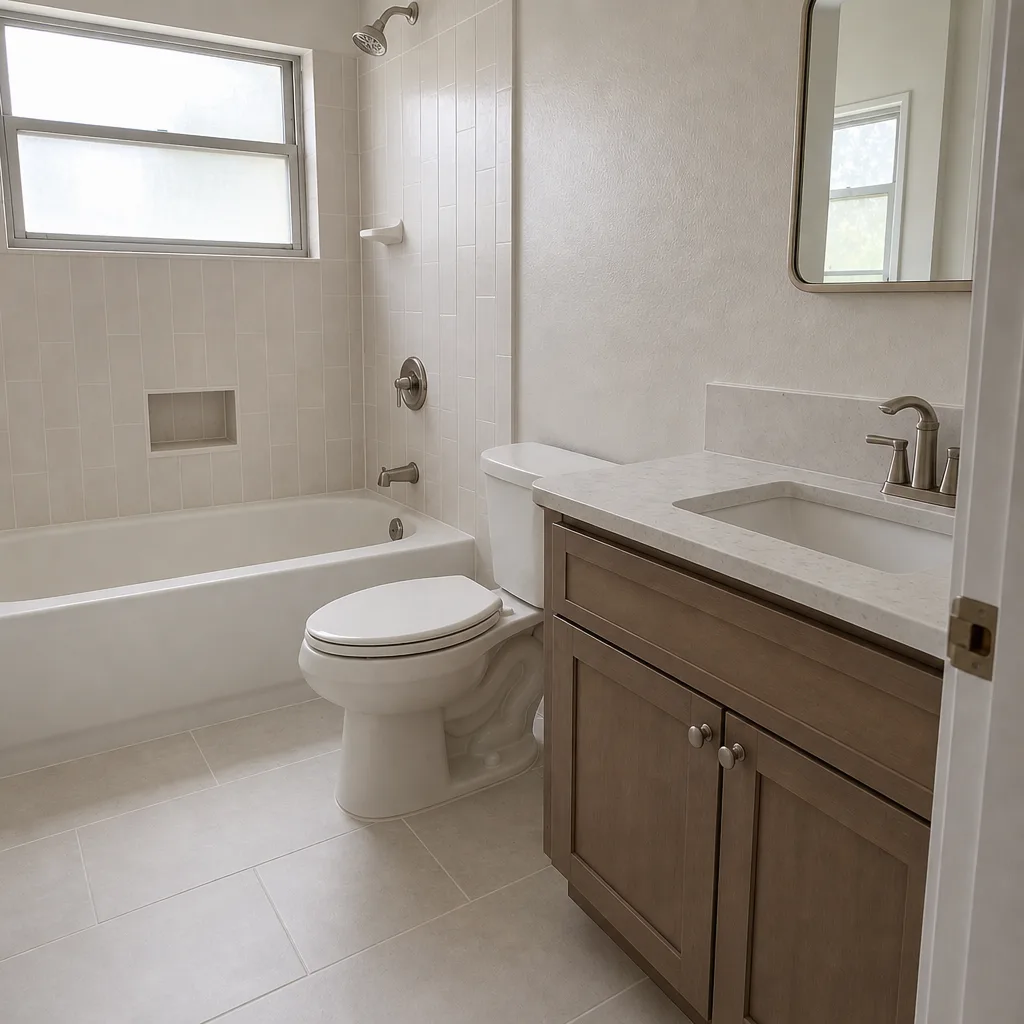 After
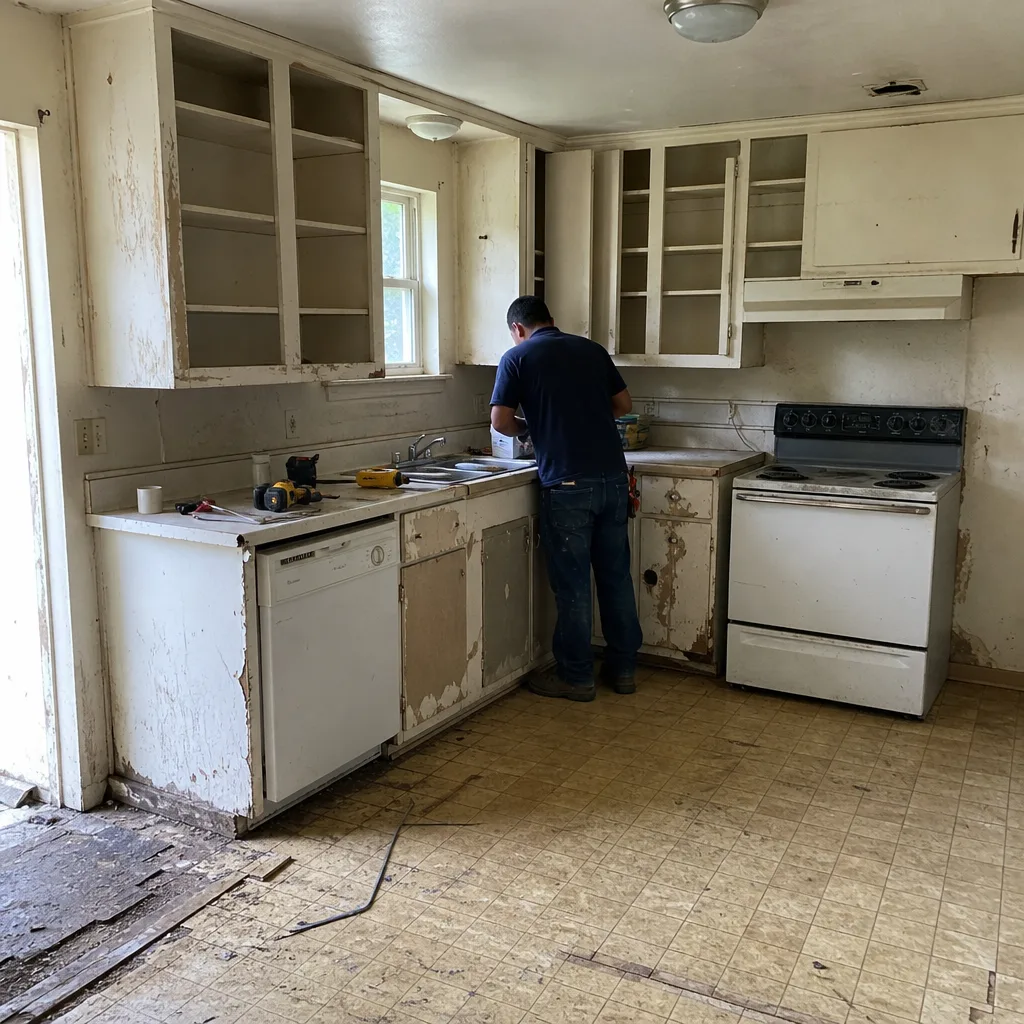 Before
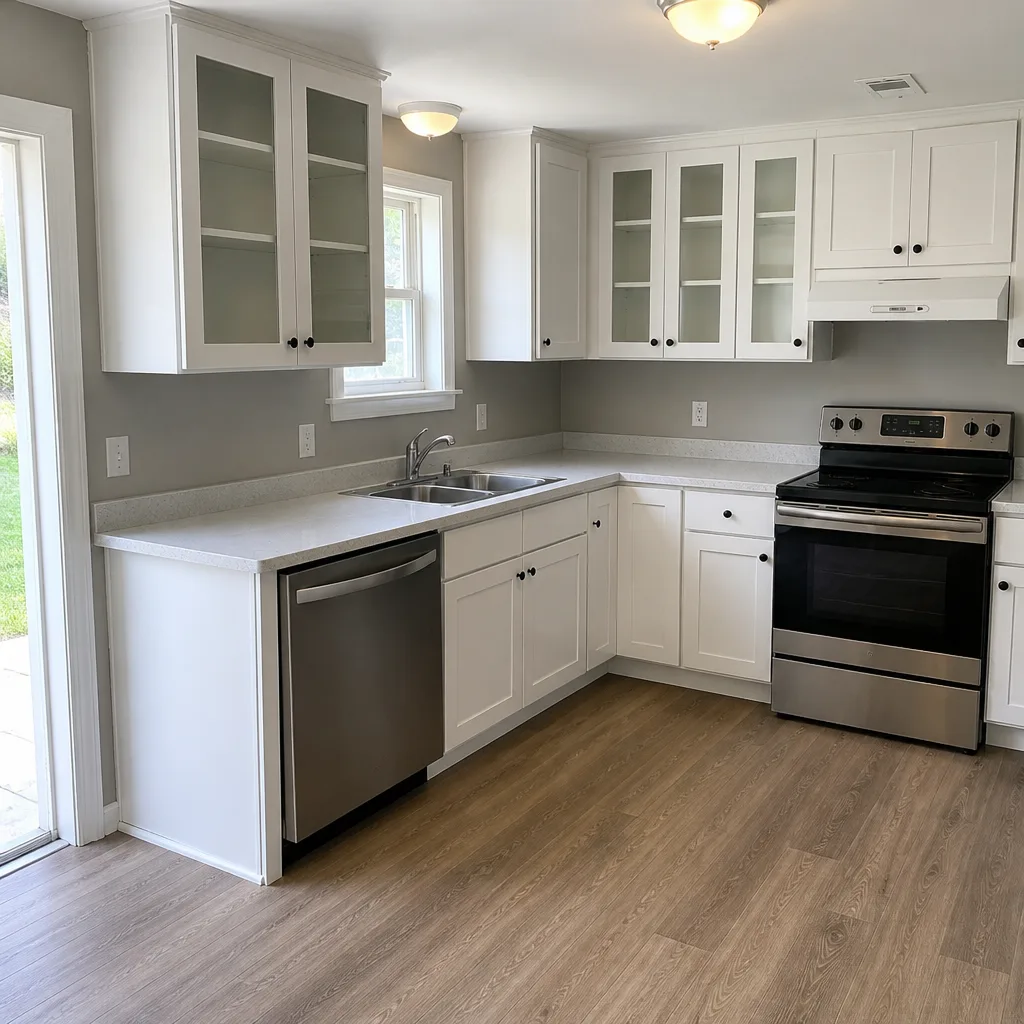 After
When to Call a Professional
Call a professional if you’ve found any of the structural signals in this guide: diagonal or stair-step cracks at the tie-in seam, cracks a dime fits into, a visibly sagging roofline where the addition meets the original house, doors or windows that have moved more than 1/16 of an inch over 30 days, or any moisture stain that keeps coming back. These are not the jobs to troubleshoot yourself. Foundation evaluation, roof framing corrections, and moisture remediation all involve work that can make a bad situation worse if it’s done wrong.
Call when you’re planning an addition too. The best time to catch a foundation tie-in problem is before it’s built, and the second-best time is the first rainy season after. Groundwork Construction Co. of Dallas offers free estimates in Dallas and structured project consultations that walk through foundation engineering, permit requirements, and tie-in design. Call (844) 797-4808 to schedule yours.
Frequently Asked Questions
A crack is serious if it’s diagonal or stair-stepped, wider than 1/8 inch, located at the seam where the addition meets the original house, or if it reappears after you patch it. Those patterns point to active structural movement rather than normal settling. Get a professional evaluation before you cover it up again.
Yes, from the attic. Look for metal hurricane straps where rafters connect, solid doubled lumber where the new roof bears on the original structure, and no daylight showing through. If anything looks wrong, call a licensed roofer rather than climbing on the roof yourself.
Yes. Any addition that adds square footage, including ADUs, garage conversions, and room additions, requires a permit and inspection in Dallas. Building without a permit creates insurance and resale problems and is a warning sign that the work may also be structurally deficient.
Request the permit history from the city for the property address, and ask specifically for the final inspection sign-off. You can also check the electrical panel for inspection stickers and labeled circuits, and look at the wall behind outlet cover plates for evidence of unpermitted electrical work. If the permit was opened but never finaled, that’s a red flag.
Maybe. A door that sticks because a hinge is loose is a minor fix. A door whose gap to the frame changes over 30 days indicates the structure is moving, and in Dallas that usually means foundation performance rather than carpentry. Measure it, date it, and re-measure in a month.
Foundation tie-in failure caused by clay soil movement. The new slab and the original foundation move differently under the same soil conditions, and the seam between them cracks first. In our experience, additions built between 2010 and 2020 without engineered foundations show this pattern most often. Addressing it early costs far less than correcting it after the crack has had two or three years to grow.
The Bottom Line
The warning signs of a failing home addition are mostly visible to a careful homeowner: cracks at the tie-in seam, moving doors, moisture stains, a sagging roofline, and an unpermitted paper trail. What makes an addition different from any other remodel is that its problems don’t stay in the addition. They spread into the existing house. In Dallas, the clay soil means those problems accelerate on a schedule that gives you a window to fix them at moderate cost before they get expensive. Check the signs. Measure what you can. And call a professional when the signals point structural. The window is real, and it closes.
If your walkthrough turned up anything concerning, or if you’re planning a new addition and want the foundation and tie-in done right from the start, call Groundwork Construction Co. of Dallas at (844) 797-4808 for a free estimate. We’ll walk the project with you, put the numbers in writing with no-hassle upfront pricing, and back the work with our 730-Day Done Right Promise. While you’re thinking through your larger project, our other services are worth a look too: Groundwork Construction Co. of Dallas home, Driveway & Pavers in Dallas, and Fence Installation in Dallas.
Written by the team at Groundwork Construction Co. of Dallas.