
Last updated November 17, 2026
 Driveway & pavers
 Kitchen remodeling
 Bathroom remodeling
 Home additions & ADU
 Roofing
 Windows & doors
 Fence
Free written scope consultation - allowances, timeline, and change-order rules on paper before a single trade is scheduled
Driveway & Pavers Maintenance Schedule: What to Do and When
The single highest-ROI maintenance task for a paver driveway costs under $30 and takes about two hours: resealing joint sand in October. Most Dallas homeowners skip it entirely until they’re staring at a weed-riddled, shifting surface and wondering where the last three years went. A paver driveway that lasts 25 years here doesn’t happen by accident. It follows a predictable rhythm tied to North Texas seasons, and the homeowners who skip the fall inspection are the ones paying for it the following spring. This guide lays out exactly what to do and when, month by month, so you’re never guessing.
Quick Answer
In Dallas, a paver driveway needs an inspection every spring and fall, joint sand topped off in October before the rainy season, a full reseal every 3 to 5 years depending on the sealer type, and immediate attention to any edge restraint that starts to lift. The critical window is fall: refilling polymeric sand in October is the one task that prevents the weed growth, ant infiltration, and paver migration that show up months later. Miss it and you’ll pay for it in spring.
Styles & brands we work with
- Kitchen remodeling
- Bathroom remodeling
- Home additions & ADU
- Roofing
- Windows & doors
- Driveway & pavers
- Fence
Table of Contents
- Why Paver Maintenance Matters More in Dallas Than Almost Anywhere
- The Dallas Paver Maintenance Calendar
- How to Inspect and Refill Polymeric Sand Joints
- Sealer Selection for Texas UV Exposure
- Spotting Edge Restraint Failure Early
- What to Log After Every Inspection
- Seasonal Threats: Heat, Leaves, and Spring Drainage
- What Maintenance Costs in Dallas
Why Paver Maintenance Matters More in Dallas Than Almost Anywhere
Dallas puts pavers through a punishment cycle most of the country never sees. Our summers routinely push the surface temperature of a west-facing driveway past 140°F, which bakes the polymers in joint sand and stresses every sealer coat. Then winter hands us the opposite problem: freeze-thaw cycles in January and February, sometimes a dozen in a single season. Water that works into a joint, freezes, and expands will pry pavers apart inch by inch. Spring adds heavy rain events that put real drainage stress on the base, and fall drops an enormous leaf load from the live oaks and pecans that shade so many Dallas neighborhoods.
Every one of those seasonal shifts attacks a different part of the system. Summer attacks the sealer. Fall buries the joints in organic debris. Winter freeze-thaw attacks the sand. Spring attacks the drainage. A maintenance schedule that works in Phoenix or Seattle doesn’t translate here, which is why we see so many Dallas driveways fail early despite being installed correctly in the first place.
The good news is the schedule is short and mostly cheap. Total DIY maintenance runs a few hundred dollars a year at most. Replacing a driveway that failed early because the joints were never maintained runs five figures. That gap is the whole argument for a calendar on the refrigerator. If you’re at the stage of planning a new surface rather than maintaining an old one, our Driveway & Pavers in Dallas page covers materials, base prep, and what a proper install looks like from the ground up.
The Dallas Paver Maintenance Calendar
Here’s the short version of the year, organized so you can plan around the Dallas seasons instead of reacting to them. Follow this and you’ll rarely face a surprise repair.
- January – February (freeze-thaw season): Walk the driveway after any hard freeze and check for lifted or rocking pavers. Note any spot where water puddles. Don’t seal now; the surface is too cold for most products to cure properly.
- March – April (spring inspection): Full inspection. Probe joint sand depth with a screwdriver, check edge restraints, clear winter debris from drains and low spots. Photograph everything (more on the log below).
- May – June (pre-summer prep): Refill thin joint sand before peak heat. Clean the surface with a paver-safe cleaner. This is also the window for a full reseal if your sealer cycle lands here; applying before summer UV exposure is the best time to protect against Texas sun.
- July – August (watch and wait): Monitor. Heat stress shows up as faded color and hairline cracks in film-forming sealer. Address weeds the moment they sprout, before they root deep into the base.
- September – October (the critical window): Clear leaves religiously. Do the fall inspection. Refill polymeric sand in the joints, especially on the north-facing and shaded sections that stay damp longest.
- November – December (winterize): Final crack and joint check, confirm drainage paths are clear before the rains, and shut down any irrigation that sprays onto the driveway.
Two of those items do the heavy lifting: the fall joint sand refill in October, and the spring inspection in March or April. Get those right and the rest is maintenance. Skip them and you’ll join the long list of Dallas homeowners we’ve met who are replacing a driveway at year eight instead of year twenty-five.
How to Inspect and Refill Polymeric Sand Joints
The joints between your pavers are the driveway’s weak point and its foundation at the same time. Polymeric sand locks the pavers together, keeps them from shifting under tire load, and blocks the water and organic matter that lead to weeds and ants. When it hollows out to less than a quarter-inch below the paver surface, you’ve entered the danger zone. Water pools in the joint, freeze-thaw cracks the sand, weeds germinate in the gap, and ants build nests that actively erode the bedding layer beneath.
Checking is simple. Take a stiff screwdriver or a piece of wire and probe a handful of joints across the driveway, especially near the garage apron and the street apron where water concentrates. If the screwdriver sinks deep before it hits anything solid, the joint is hollow.
Filling it is a weekend job, and the sequence matters:
- Clean the joints. Blow or sweep out old sand, dirt, and debris. Any weed that’s already rooted needs to come out entirely, root and all, or it comes right back.
- Apply a joint sand stabilizer or use a quality polymeric sand designed for the application. Cheap sand washes out in the first Dallas spring rain event.
- Sweep the sand into the joints, working in sections rather than the whole driveway at once.
- Compact the surface with a vibrating plate compactor to seat the sand.
- Re-sweep, then mist with water per the product’s instructions. Polymeric sand needs the right amount of water to activate; too much washes it out, too little leaves it crumbly.
- Stay off the surface for the curing window the manufacturer specifies, usually 24 hours.
Do this in October, when the ground is still warm enough for the polymer to activate and set before the wet season. And know your limits: if the pavers themselves are rocking, that’s a base problem, not a sand problem, and no amount of joint sand will fix it. That’s a call for a professional assessment.
Sealer Selection for Texas UV Exposure
Sealer is where Dallas weather makes the biggest difference in product choice. Our summer UV load fades film-forming sealers faster than the spec sheets promise, and our winter freeze-thaw cycles flex a film-forming coat until it cracks like old paint. That doesn’t mean film-forming is wrong; it means you need to know what you’re choosing and when to reapply.
There are two families of sealer and they do different jobs:
- Penetrating sealers soak into the paver surface and protect from within. They don’t leave a sheen, they don’t peel, and they hold up to Texas UV better because there’s no film to degrade. Reapply every 2 to 4 years. Best for homeowners who want low maintenance and don’t care about a glossy finish.
- Film-forming sealers sit on top of the paver and lock in color while giving a wet or gloss look. They hold sand better and deepen the color, but they’re more vulnerable to UV fade and freeze-thaw cracking. Expect to reapply every 2 to 3 years in Dallas, not the 5 years you might see quoted for milder climates.
A hybrid product gives you some of both, and it’s what many Dallas homeowners land on. Whatever you choose, apply it in moderate weather, not on a 100°F day and not when a freeze is coming. Clean the surface thoroughly first. Sealing over dirt traps the dirt permanently. And for high-end surfaces, the paver brand matters too: quality brands like Belgard (part of the curated partner list we build with) have cleaner, more consistent surfaces that take sealer evenly, while bargain pavers with rough faces can leave you with a blotchy finish no product can fix.
Spotting Edge Restraint Failure Early
Edge restraint is the hidden component that keeps your entire driveway from creeping outward. It’s a concrete or plastic curb, pinned into the base, that holds the outermost pavers in place. When it fails, you don’t notice immediately. You notice six months later when the edge pavers have migrated an inch and the whole surface starts to open up along the perimeter. By then the repair is bigger and more expensive.
Check it twice a year. Walk the entire perimeter, paying particular attention to the street apron and any edge that borders lawn or landscaping. Here’s what to look for:
- Any gap between the outside edge pavers and the restraint itself. Even a quarter-inch is a warning sign.
- Restraint that has lifted, tilted, or visibly separated from the base beneath it.
- Pavers along the edge that rock when you step on them. Loose edge pavers almost always trace back to restraint.
- Weeds or ant activity concentrated along one edge. That’s a sign water is finding a path there, which usually means the restraint has shifted.
- Soil eroding away from the outside of the restraint, exposing it. Landscape watering in Dallas is a common culprit, especially when sprinkler heads spray onto the driveway edge.
If you find any of these, don’t ignore it and don’t try to shore it up yourself with a little extra sand. Restraint failure needs proper re-pinning or replacement to hold, and it’s exactly the kind of repair that gets cheap fast when caught early and expensive when caught late.
What to Log After Every Inspection
This is the part nobody does, and it’s the part that saves you real money. A simple maintenance log turns vague complaints into documented history. It’s what a contractor needs to accurately assess cumulative wear, what a warranty claim turns on, and what a buyer’s inspector will ask about at resale.
At each spring and fall inspection, record the following:
- Date and weather conditions. Note recent freezes or heavy rain.
- Photos of each section of the driveway. Four to six wide shots plus any problem areas, shot from the same angle each time so you can compare year over year.
- Joint sand depth findings. Note which sections were hollow and how deep.
- Edge restraint condition. Any gaps, lifting, or exposed base.
- Drainage observations. Where water pooled after the last rain, and how long it took to drain.
- Weed, ant, or organic activity. Location and extent.
- Any work performed. Who did it, what product, and the date.
Keep it in a folder or a phone note. It sounds like busywork until the day something fails and you can show the installer exactly how the surface has deteriorated over three years. That documentation is what separates a warranty claim that gets honored from one that stalls. It also comes up in resale disclosures, and a well-kept log is a quiet signal to buyers that the home was cared for. Our Groundwork Construction Co. of Dallas home page covers the wider range of exterior and interior work we handle, but the habit applies no matter who built your driveway.
Seasonal Threats: Heat, Leaves, and Spring Drainage
Each Dallas season brings its own specific threat, and knowing which one you’re facing tells you where to look.
Summer heat does its damage to the sealer and the color. Pavers fade, film-forming sealers crack, and joints that were already thin dry out and crumble. The counterintuitive fix is preventive: seal before summer, not after. Once the UV damage is done, resealing restores the look but not the lost year of protection. Direct sun on a west-facing driveway is the harshest exposure; if you’re laying new pavers, a light color absorbs less heat and lasts longer.
Fall leaves are the most underrated threat in Dallas. Our live oak and pecan canopies dump enormous volumes of leaf litter in November and December, and wet leaves sitting on pavers hold moisture against the joints for weeks. That trapped moisture is what feeds weeds and, in shaded areas, what pushes freeze-thaw damage. Blow or sweep the driveway regularly through the fall, not just once. Pay special attention to the corners and edges where leaves pile up and stay wet.
Spring drainage is where a driveway that looked fine all winter suddenly shows its weaknesses. Heavy rain events expose any low spot where water pools and any place the base has settled. Walk the driveway after a hard rain and note where water stands more than an hour later. Standing water is a drainage problem that will eventually undermine the base. Correcting the grading, adding a channel drain, or adjusting how downspouts discharge are all common Dallas fixes. It’s also the right time to check the lawn-side edge, since runoff from landscaping beds is a frequent cause of edge erosion.
One more local note: our soil is heavy black clay, and it moves with the moisture cycle. That movement is precisely why joint sand maintenance matters more here than in sandier ground; the clay below flexes, and the joints are what keep the surface together through it. If you’ve noticed the ground around your foundation moving, the same forces are working on your driveway. Our Home Additions & ADU in Dallas page touches on how foundation movement affects additions, and the underlying soil behavior is the same story.
What Maintenance Costs in Dallas
Maintenance is cheap compared to replacement, and knowing the numbers helps you plan. These are typical ranges in the Dallas market:
- Polymeric sand for a joint refill (DIY): $25 to $40 in materials for a standard two-car driveway.
- Joint sand refill (pro): $150 to $400, depending on driveway size and how hollowed the joints are.
- Penetrating sealer application (DIY materials): $80 to $200.
- Sealer application (pro): $400 to $1,000 for a two-car driveway, more for larger surfaces or premium sealers.
- Edge restraint repair: $100 to $300 for small repairs, more if the base has settled.
- Full paver re-leveling or base correction: $500 to $2,000 depending on the affected area.
- Driveway replacement (for reference): five figures. This is the number maintenance is protecting you from.
Those are typical ranges, not fixed quotes; every driveway is different. If you’re weighing whether to repair or replace, a professional assessment will tell you honestly which makes sense. Fence lines, driveways, and outdoor structures all share some maintenance logic, and our Fence Installation in Dallas guide covers the seasonal maintenance rhythm for those surfaces too.
Common Mistakes to Avoid
- Waiting until you see weeds to address joint sand. By the time weeds are visible, the joints have been hollow for months and the seeds have rooted. Inspect the joints directly, don’t wait for the evidence.
- Sealing in Texas summer heat. Applying sealer above 90°F or in direct afternoon sun traps solvent, causes patchy cure, and often leaves a cloudy film. Seal in spring or fall, morning or evening.
- Using cheap joint sand. Bargain sand without polymer washes out after the first heavy Dallas rain. Spend the extra $10 and use a product that actually stays put.
- Power washing too aggressively. High-pressure washing blows out joint sand and can chip paver edges. Use a lower pressure and re-sand afterward, never before.
- Ignoring edge restraint because it’s hidden. The perimeter is where failure starts, and it’s the cheapest thing to catch early. Walk the edge twice a year.
- Letting leaves sit through the fall. A wet leaf mat is a moisture trap. Blow the driveway regularly through November and December, especially in shaded and north-facing areas.
- Not keeping any records. Without photos and notes, you can’t prove how wear progressed, which weakens any warranty claim and worries buyers at resale.
- Reaching for the wrong sealer. Buying a film-forming sealer for a high-UV, freeze-thaw driveway because it was on sale is a false economy. Match the product to the climate.
See the difference
 Before
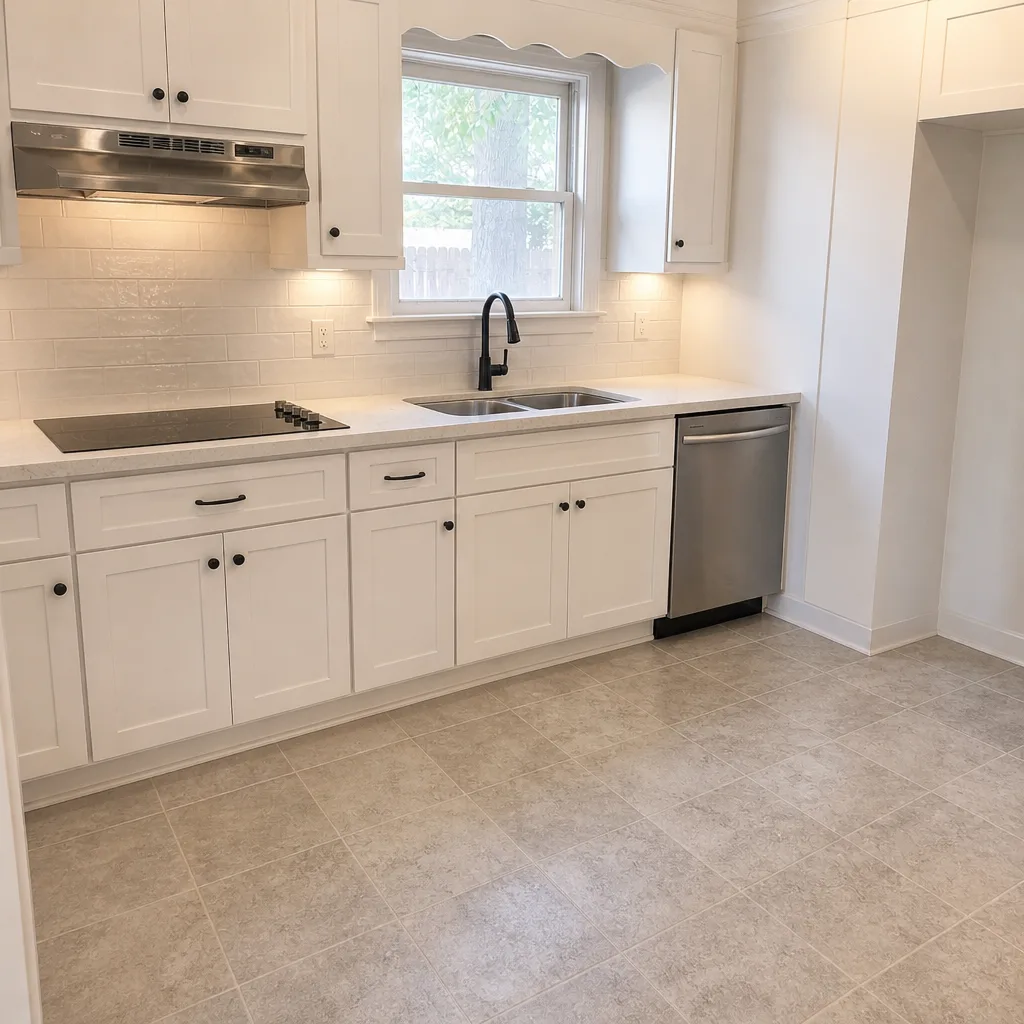 After
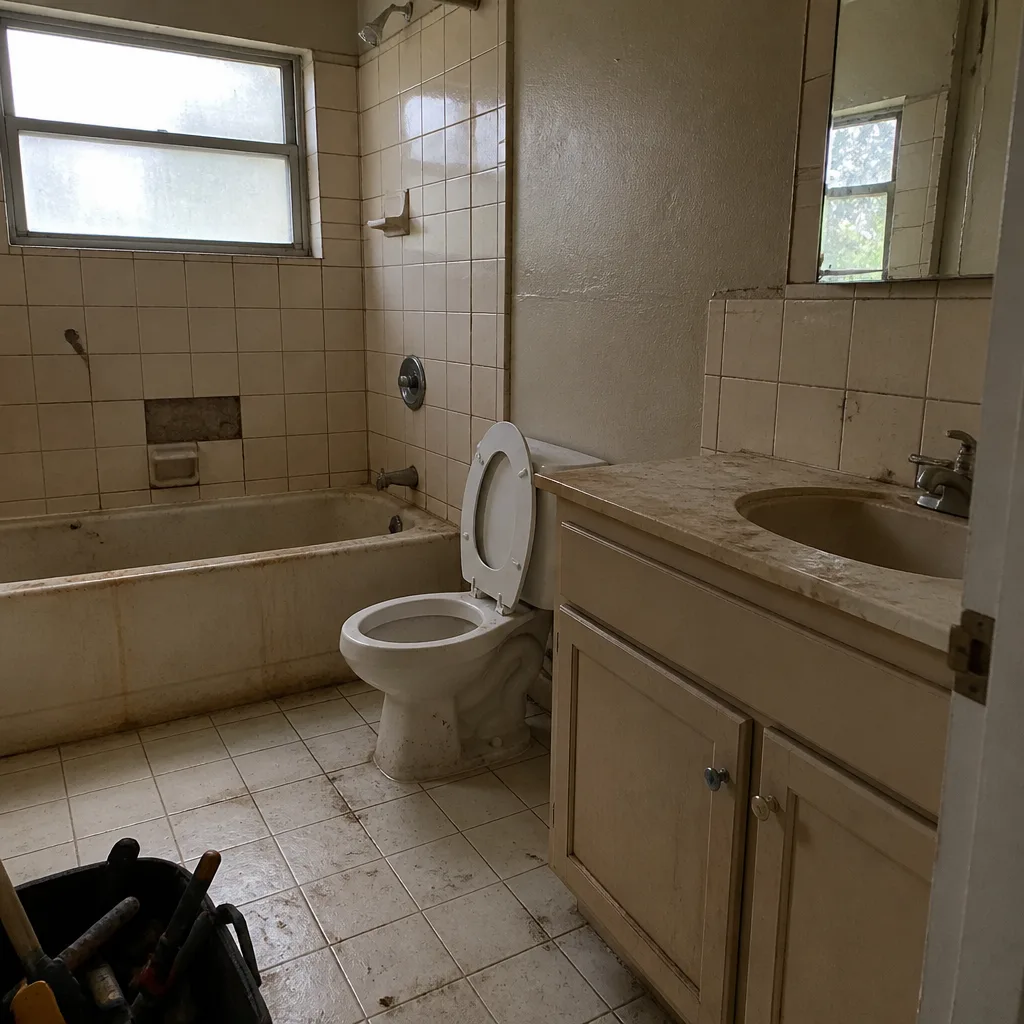 Before
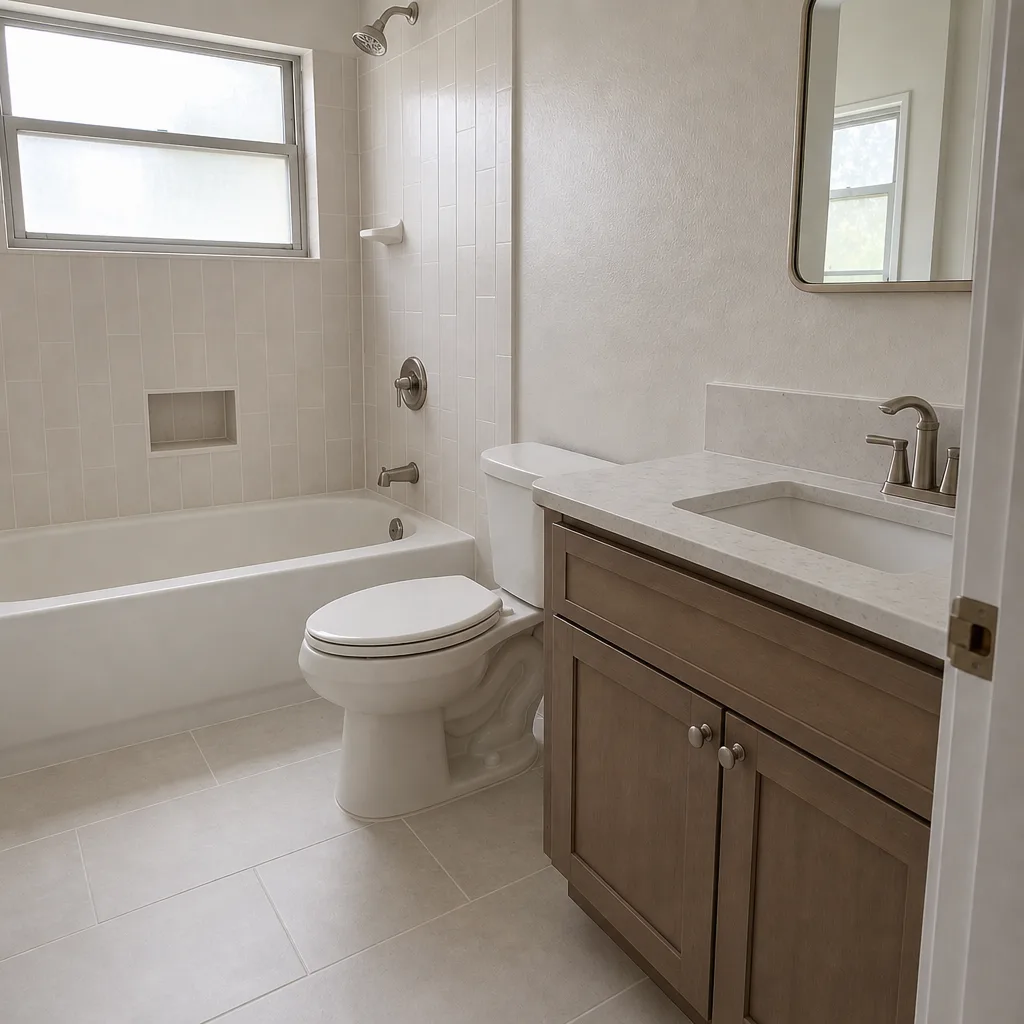 After
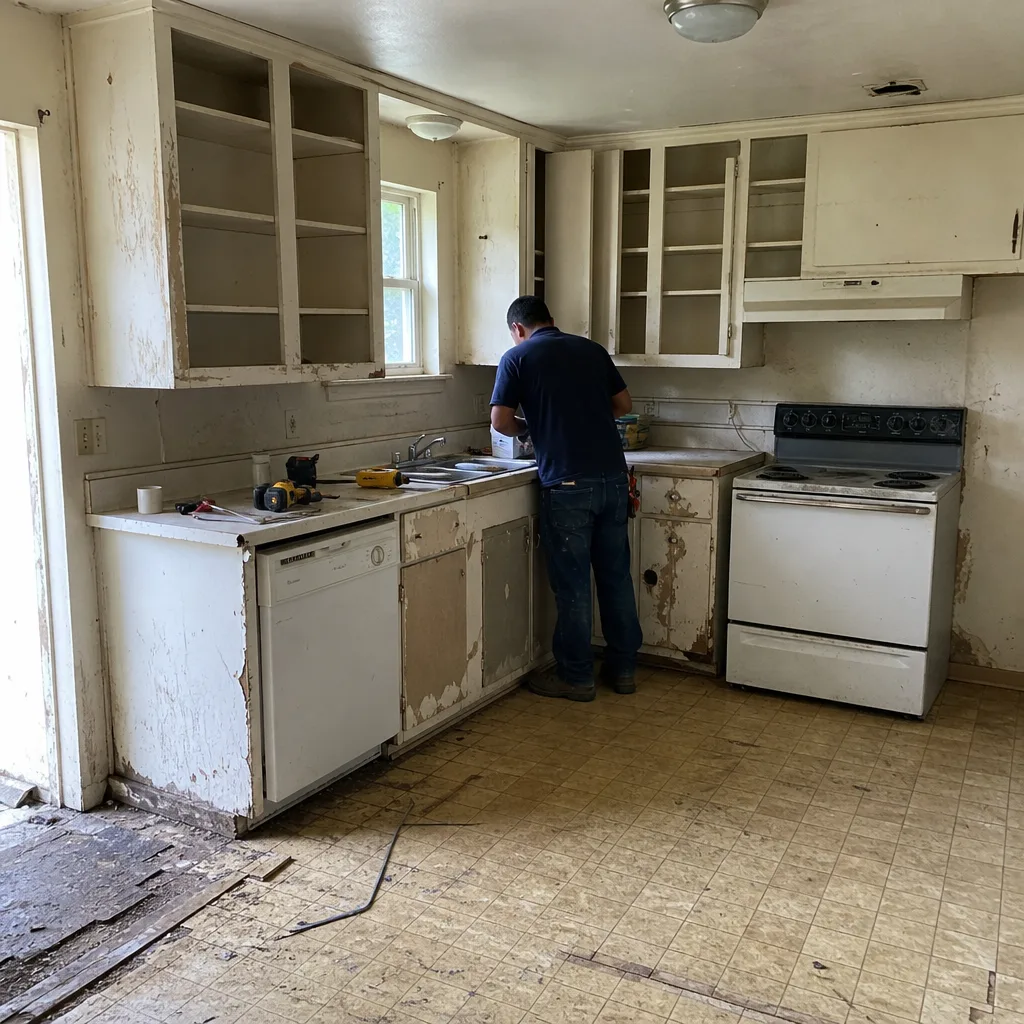 Before
 After
When to Call a Professional
Some maintenance is owner-level; some is not. Call a professional when the pavers themselves are rocking or lifting, when edge restraint has failed and needs re-pinning, when water pools for hours after rain, or when dye-back or efflorescence (that white powdery stain) won’t clear with a normal cleaning. If your sealer has cracked and peeled across large sections, that’s also a pro job, because stripping and resealing is more technical than it looks. And if you’re noticing weeds or ants coming up through the base rather than just at the joints, the bedding layer has a problem that surface fixes won’t solve. Groundwork Construction Co. of Dallas offers free estimates in Dallas for repair, replacement, and full paver work: call (844) 797-4808 and a live person will help you schedule an assessment.
Frequently Asked Questions
Every 2 to 4 years, depending on sealer type. Penetrating sealers typically last 2 to 4 years under Dallas UV, while film-forming sealers need reapplication every 2 to 3 years because summer sun and winter freeze-thaw break down the film faster here than in milder climates. Sealing in spring or fall, not midsummer, gives the best results. Call (844) 797-4808 for a free estimate on professional sealing.
October is the best time. Refilling polymeric sand in fall locks the joints before the winter freeze-thaw and wet season, when joint failure does the most damage. The ground is still warm enough for the polymer to activate and set properly, and you get ahead of the leaf-and-moisture problem before it starts.
Because the joint sand has hollowed out. Weeds germinate in the gaps once sand drops below a quarter-inch or so, and Dallas’s spring rain and summer heat make the surface an ideal seedbed. Refilling joints correctly in October is the fix that stops the cycle rather than just pulling the current batch.
Yes, but carefully. Keep the pressure moderate and the nozzle moving, because high-pressure washing blows out joint sand and can chip paver faces. After any pressure wash, you’ll need to refill the joints. Cleaning in spring and then re-sanding is a sensible order.
Rocking or shifting pavers are the tell. If individual pavers move when you step on them, or a whole section has settled into a low spot, the base beneath has failed for one of several reasons: poor initial compaction, drainage, or soil movement. Dallas black clay is a frequent factor. Joint sand won’t fix it; a professional assessment will. Call (844) 797-4808 for a free estimate.
Yes, and it’s more useful than most homeowners realize. A photo log with dates showing each inspection, refill, and repair tells a buyer’s inspector that the driveway was cared for, supports any warranty claim, and gives a contractor an accurate picture of cumulative wear. Four to six consistent-angle photos twice a year is enough.
The Bottom Line
A Dallas paver driveway lasts decades when it follows a rhythm: inspect in spring and fall, refill joint sand in October, reseal every 2 to 4 years with a product suited to Texas UV and freeze-thaw, and watch the edge restraint like a hawk. Keep a simple log so the history exists when you need it. The total cost of doing this well runs a few hundred dollars a year; the cost of skipping it runs into five figures. The October joint sand refill is the one task that matters most, and it’s the one most people skip. Don’t be most people.
If you want a professional’s eyes on your driveway, or you’re ready to install a surface that’s built to last and backed in writing, Groundwork Construction Co. of Dallas offers free estimates. Every project is covered by the 730-Day Done Right Promise, calls are answered by a live person 24/7, and upfront pricing means the number you see is the number you pay. Call (844) 797-4808 for a free estimate and design consult.
Written by the team at Groundwork Construction Co. of Dallas.